Sweet Potato Harvest

Have you ever grown Sweet Potatoes?  This year was my first time trying it.  Mama had a couple leftover potatoes that had begun to sprout, so I tried growing them two different ways.  The larger sprouts I broke off and placed in a little jar of water.  The smaller sprouts we left on the potato and just cut the whole top of the sweet potato off to stick in some water.  Sorry, no pictures of all this…I think the camera found a cozy place to curl up and was off having a nap somewhere.  🙂

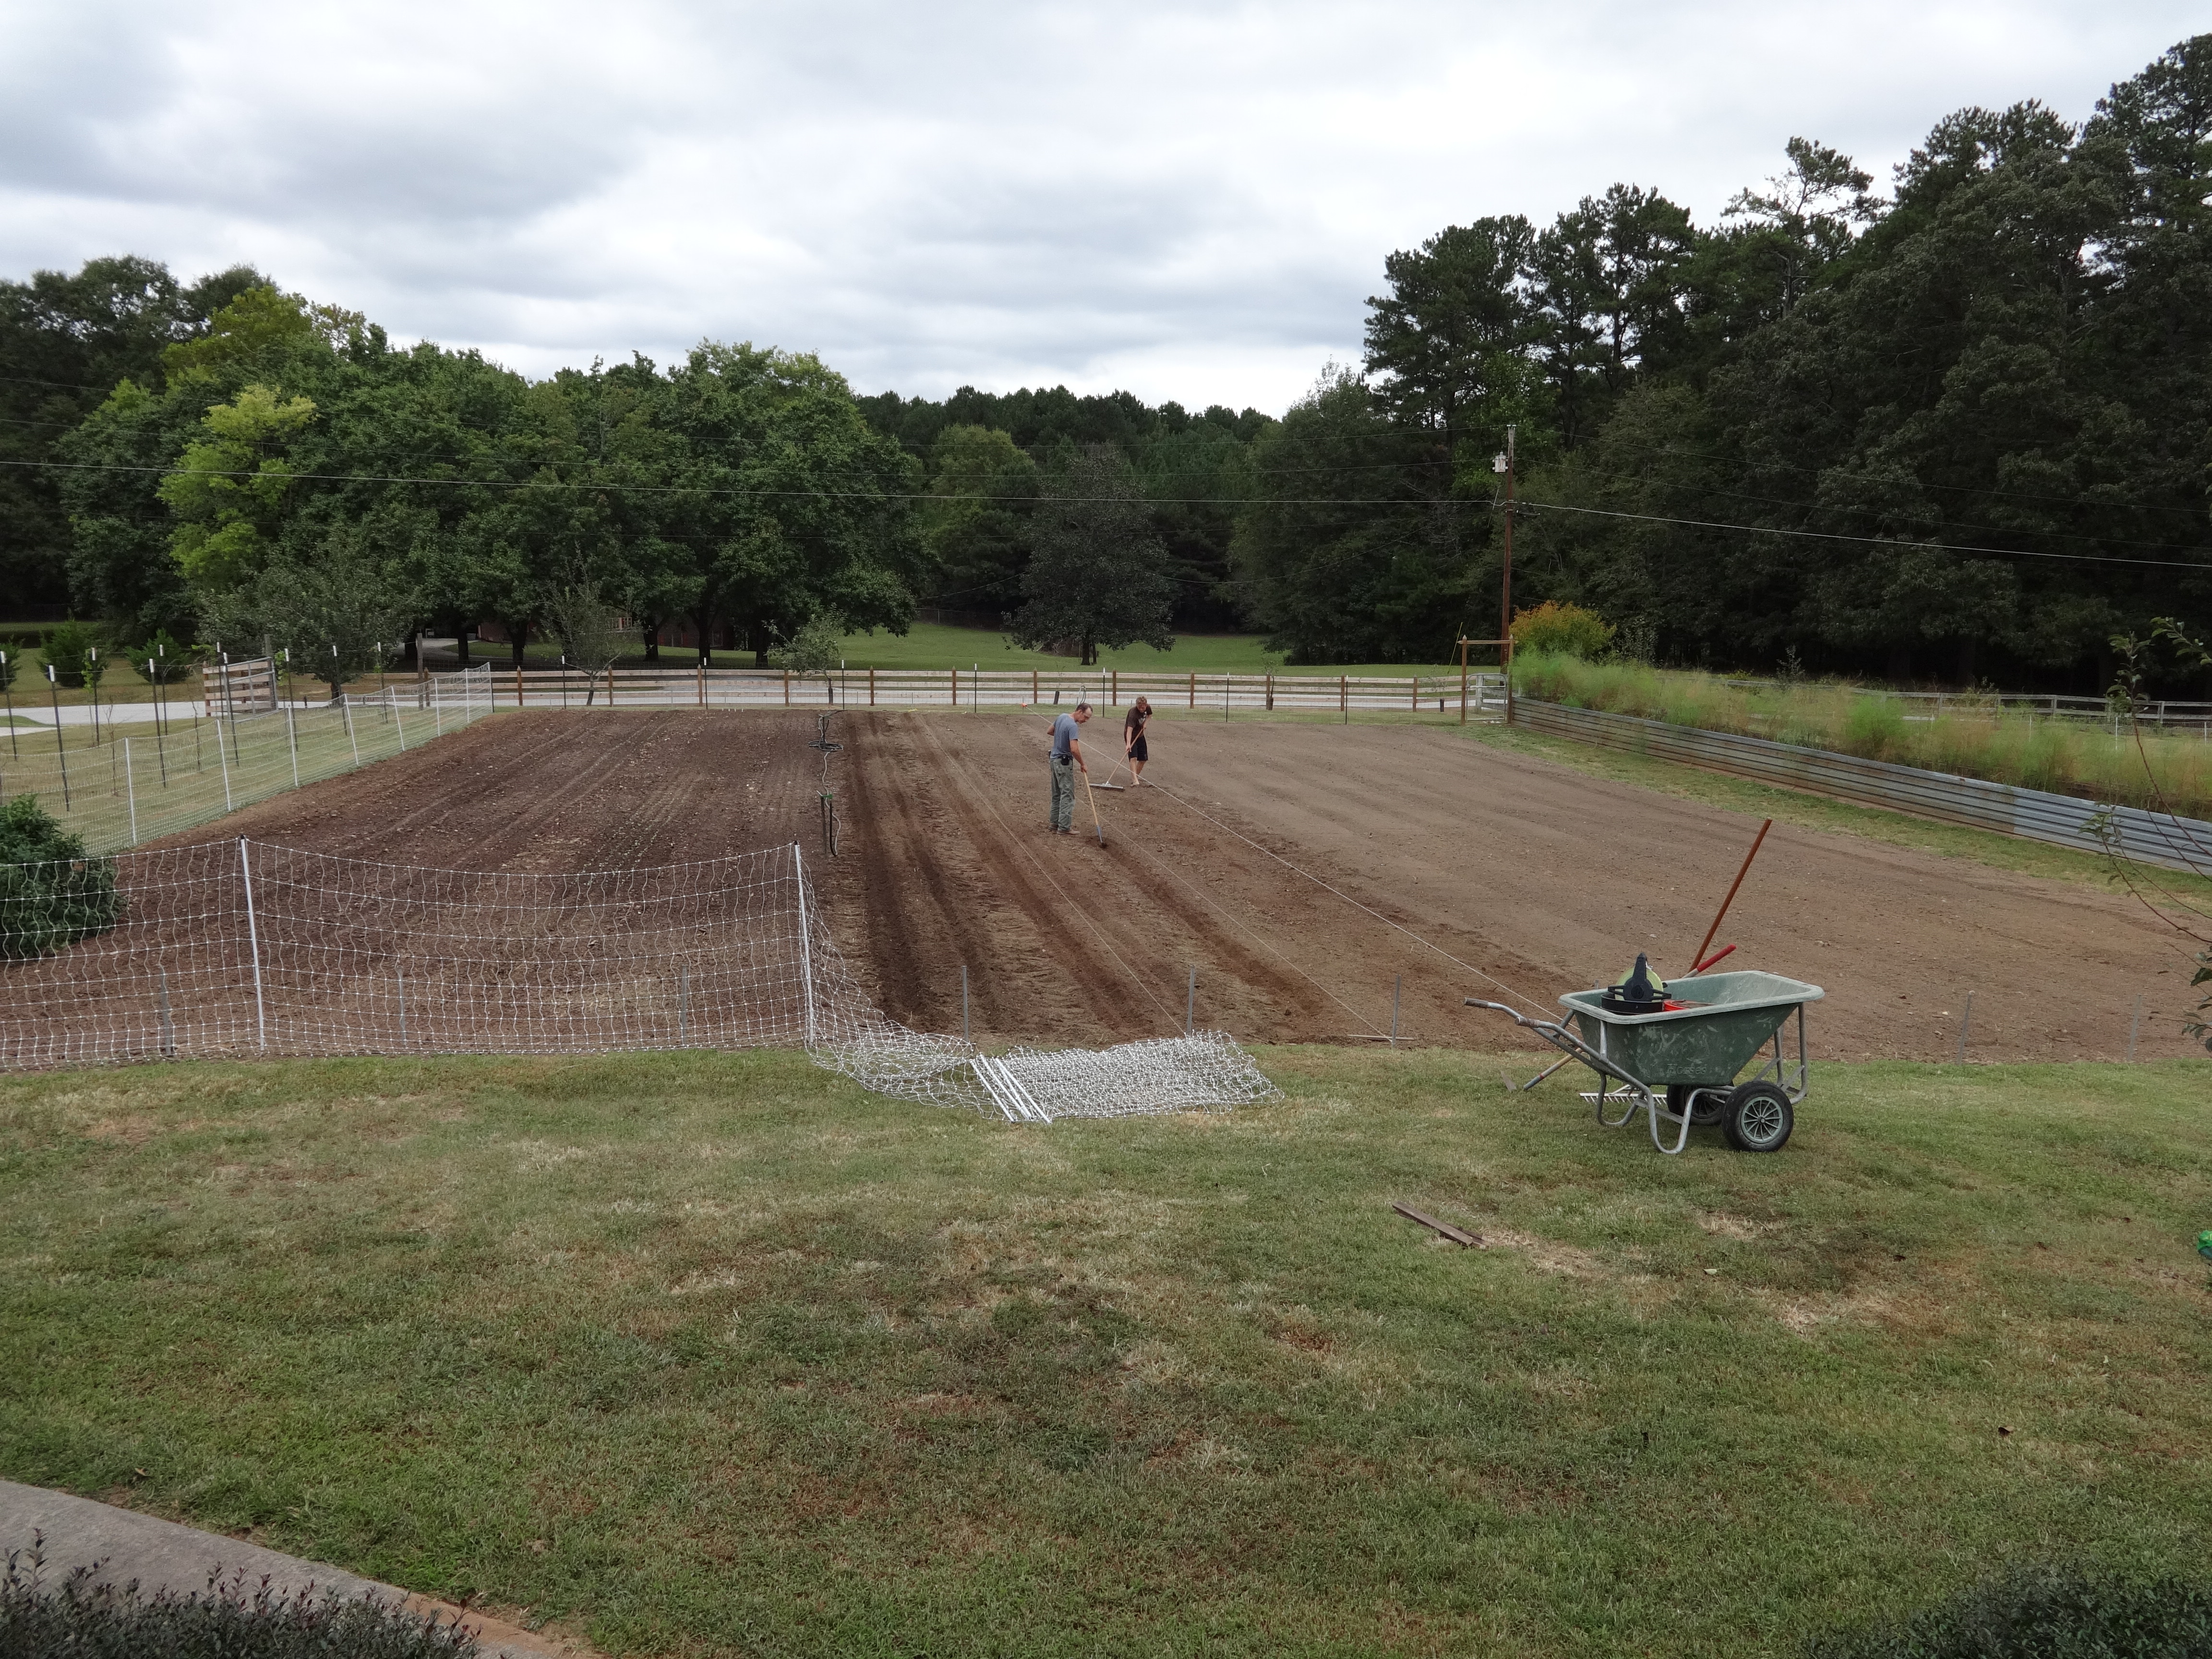
The results were interesting indeed.  Both sprouts grew roots and leaves while in the water, so after awhile, I planted them outside in a raised bed just outside my door (with Mama’s help).  Papa said I might not get any potatoes (or maybe just wee little ones) since I planted them so late in the year (near the end of August), but we all figured it wouldn’t hurt to try and see what would grow in such a short amount of time.

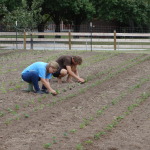
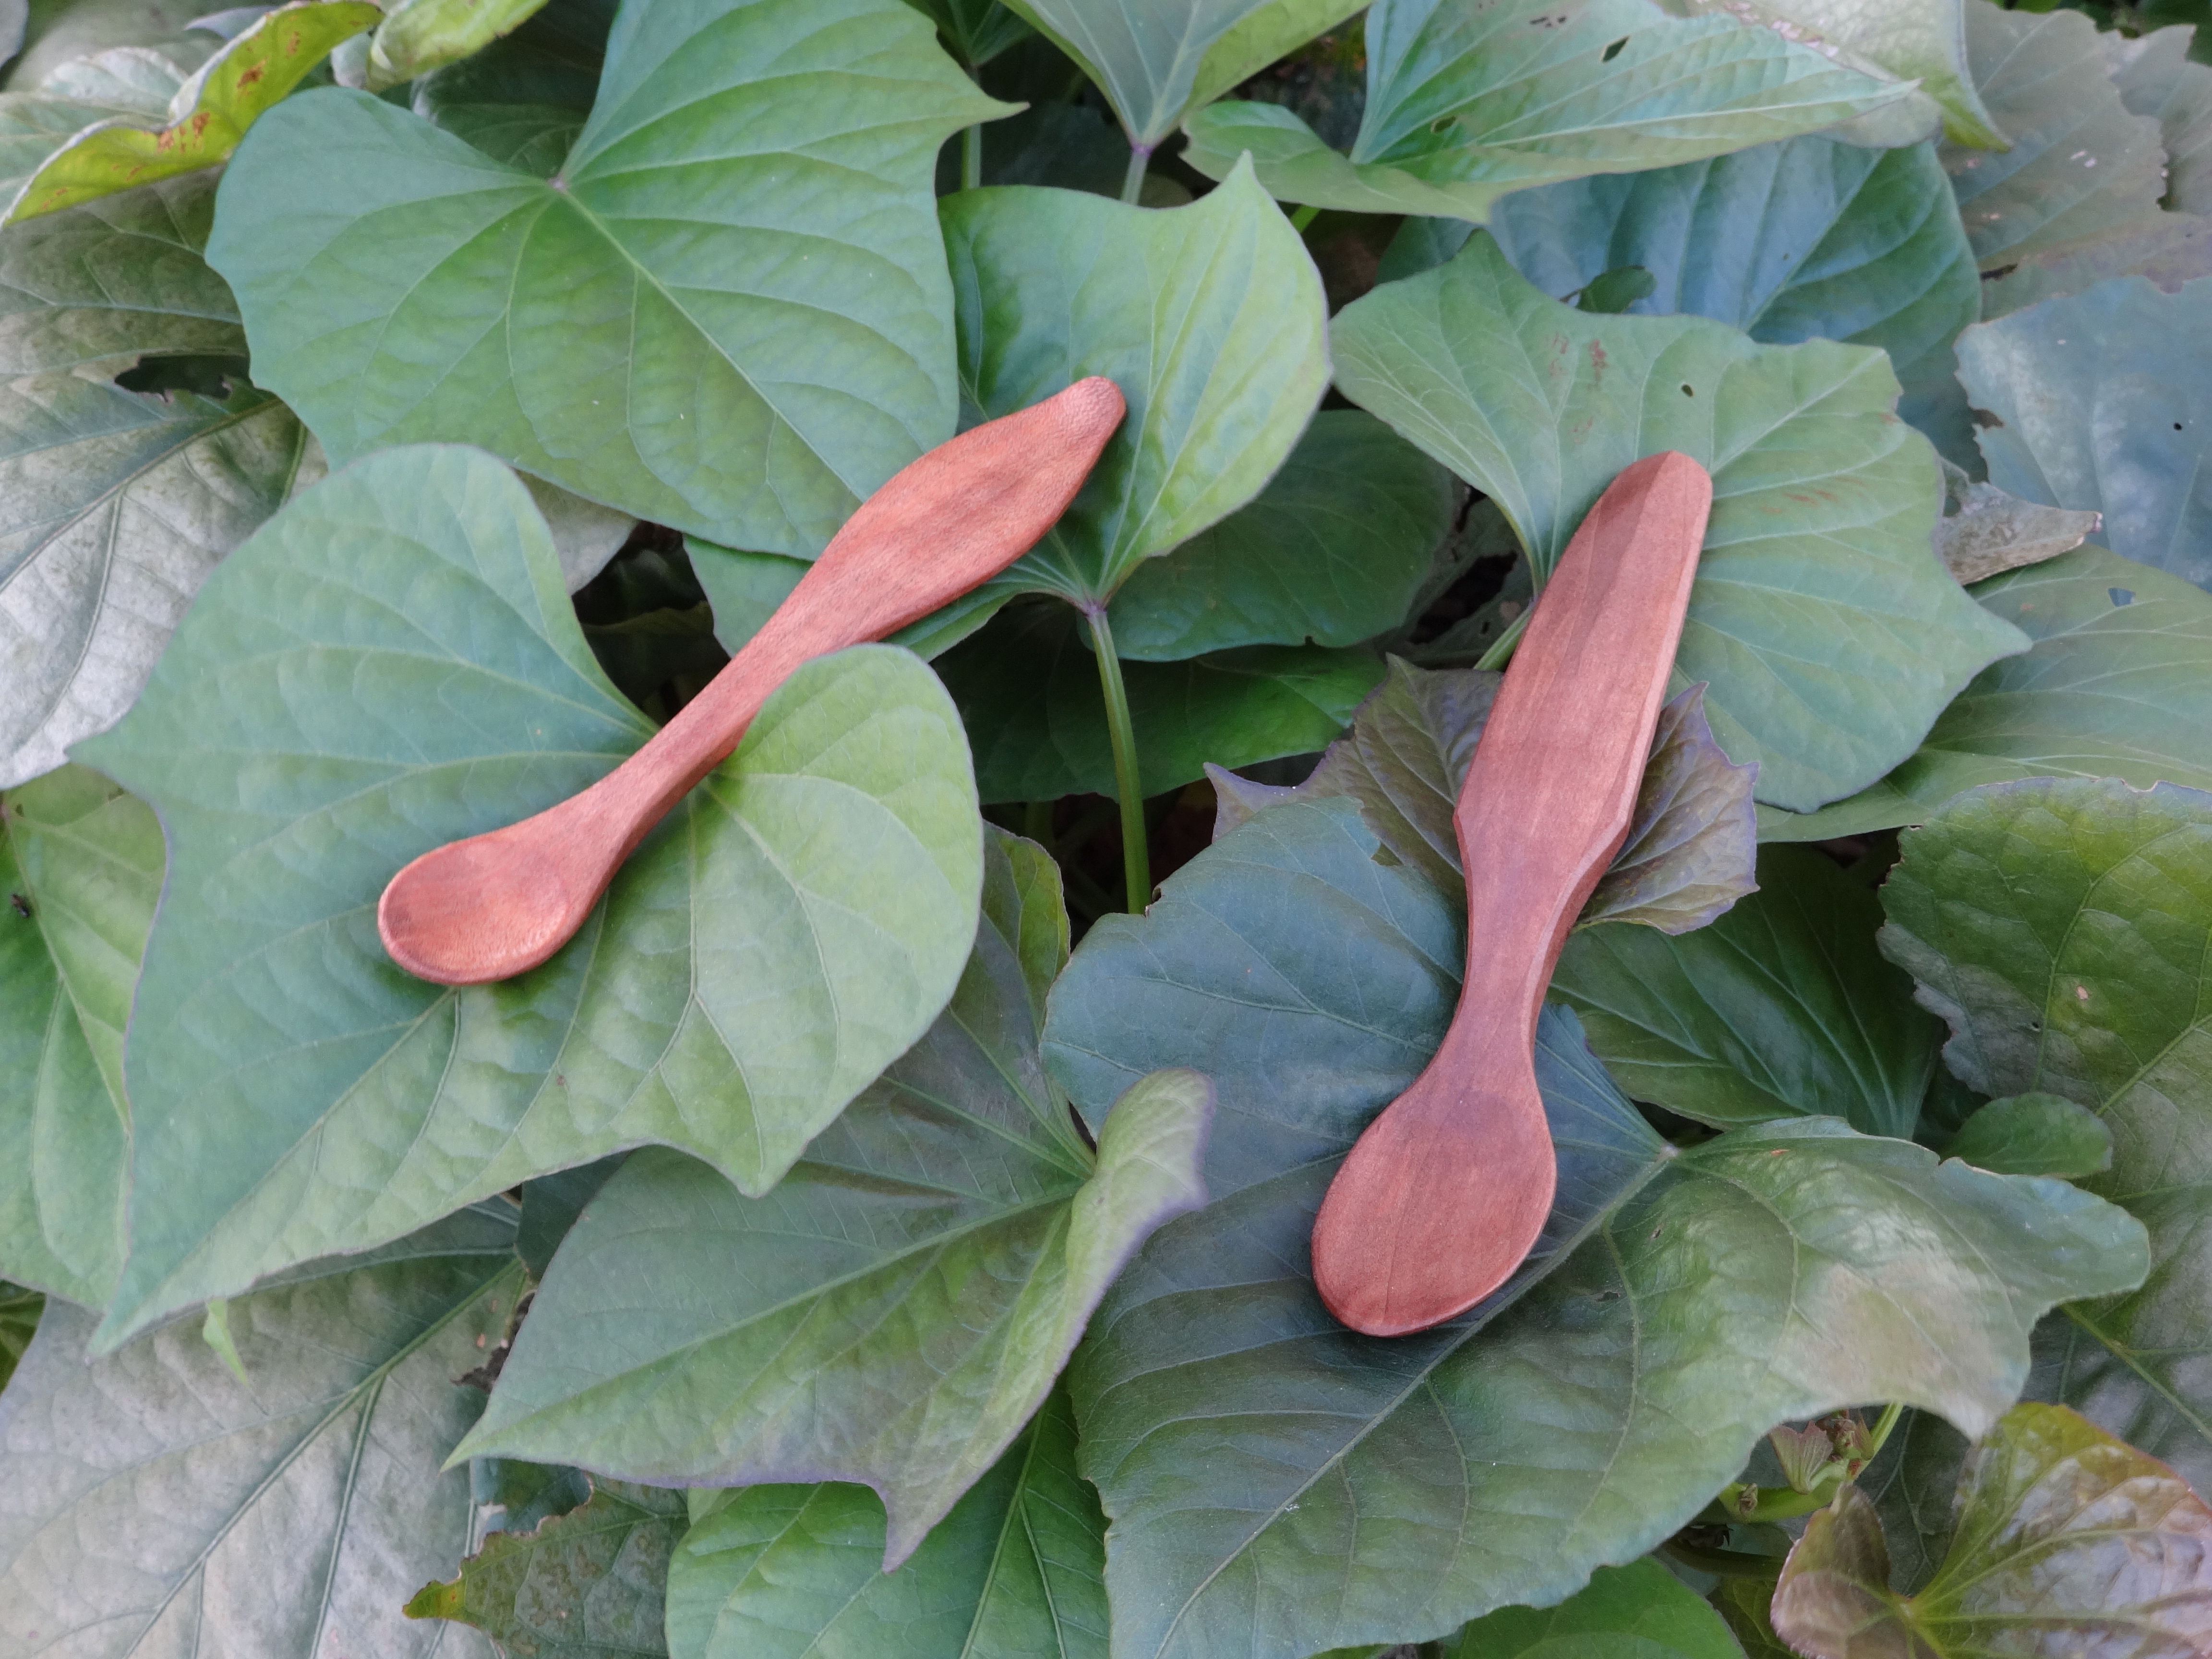
If you’ve never seen sweet potato plants, they are nearly worth growing just to see the pretty leaves they sprout.  They look almost like an ivy…..very nice dark green with shades of purple mixed in on some of the leaf edges.

DSC02582

After a while, they set on blooms and I knew the potatoes were beginning to grow.  Now it was a race to see how large before the frosts and freezes of winter would kill the plants.

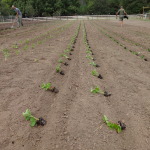
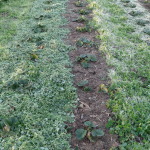
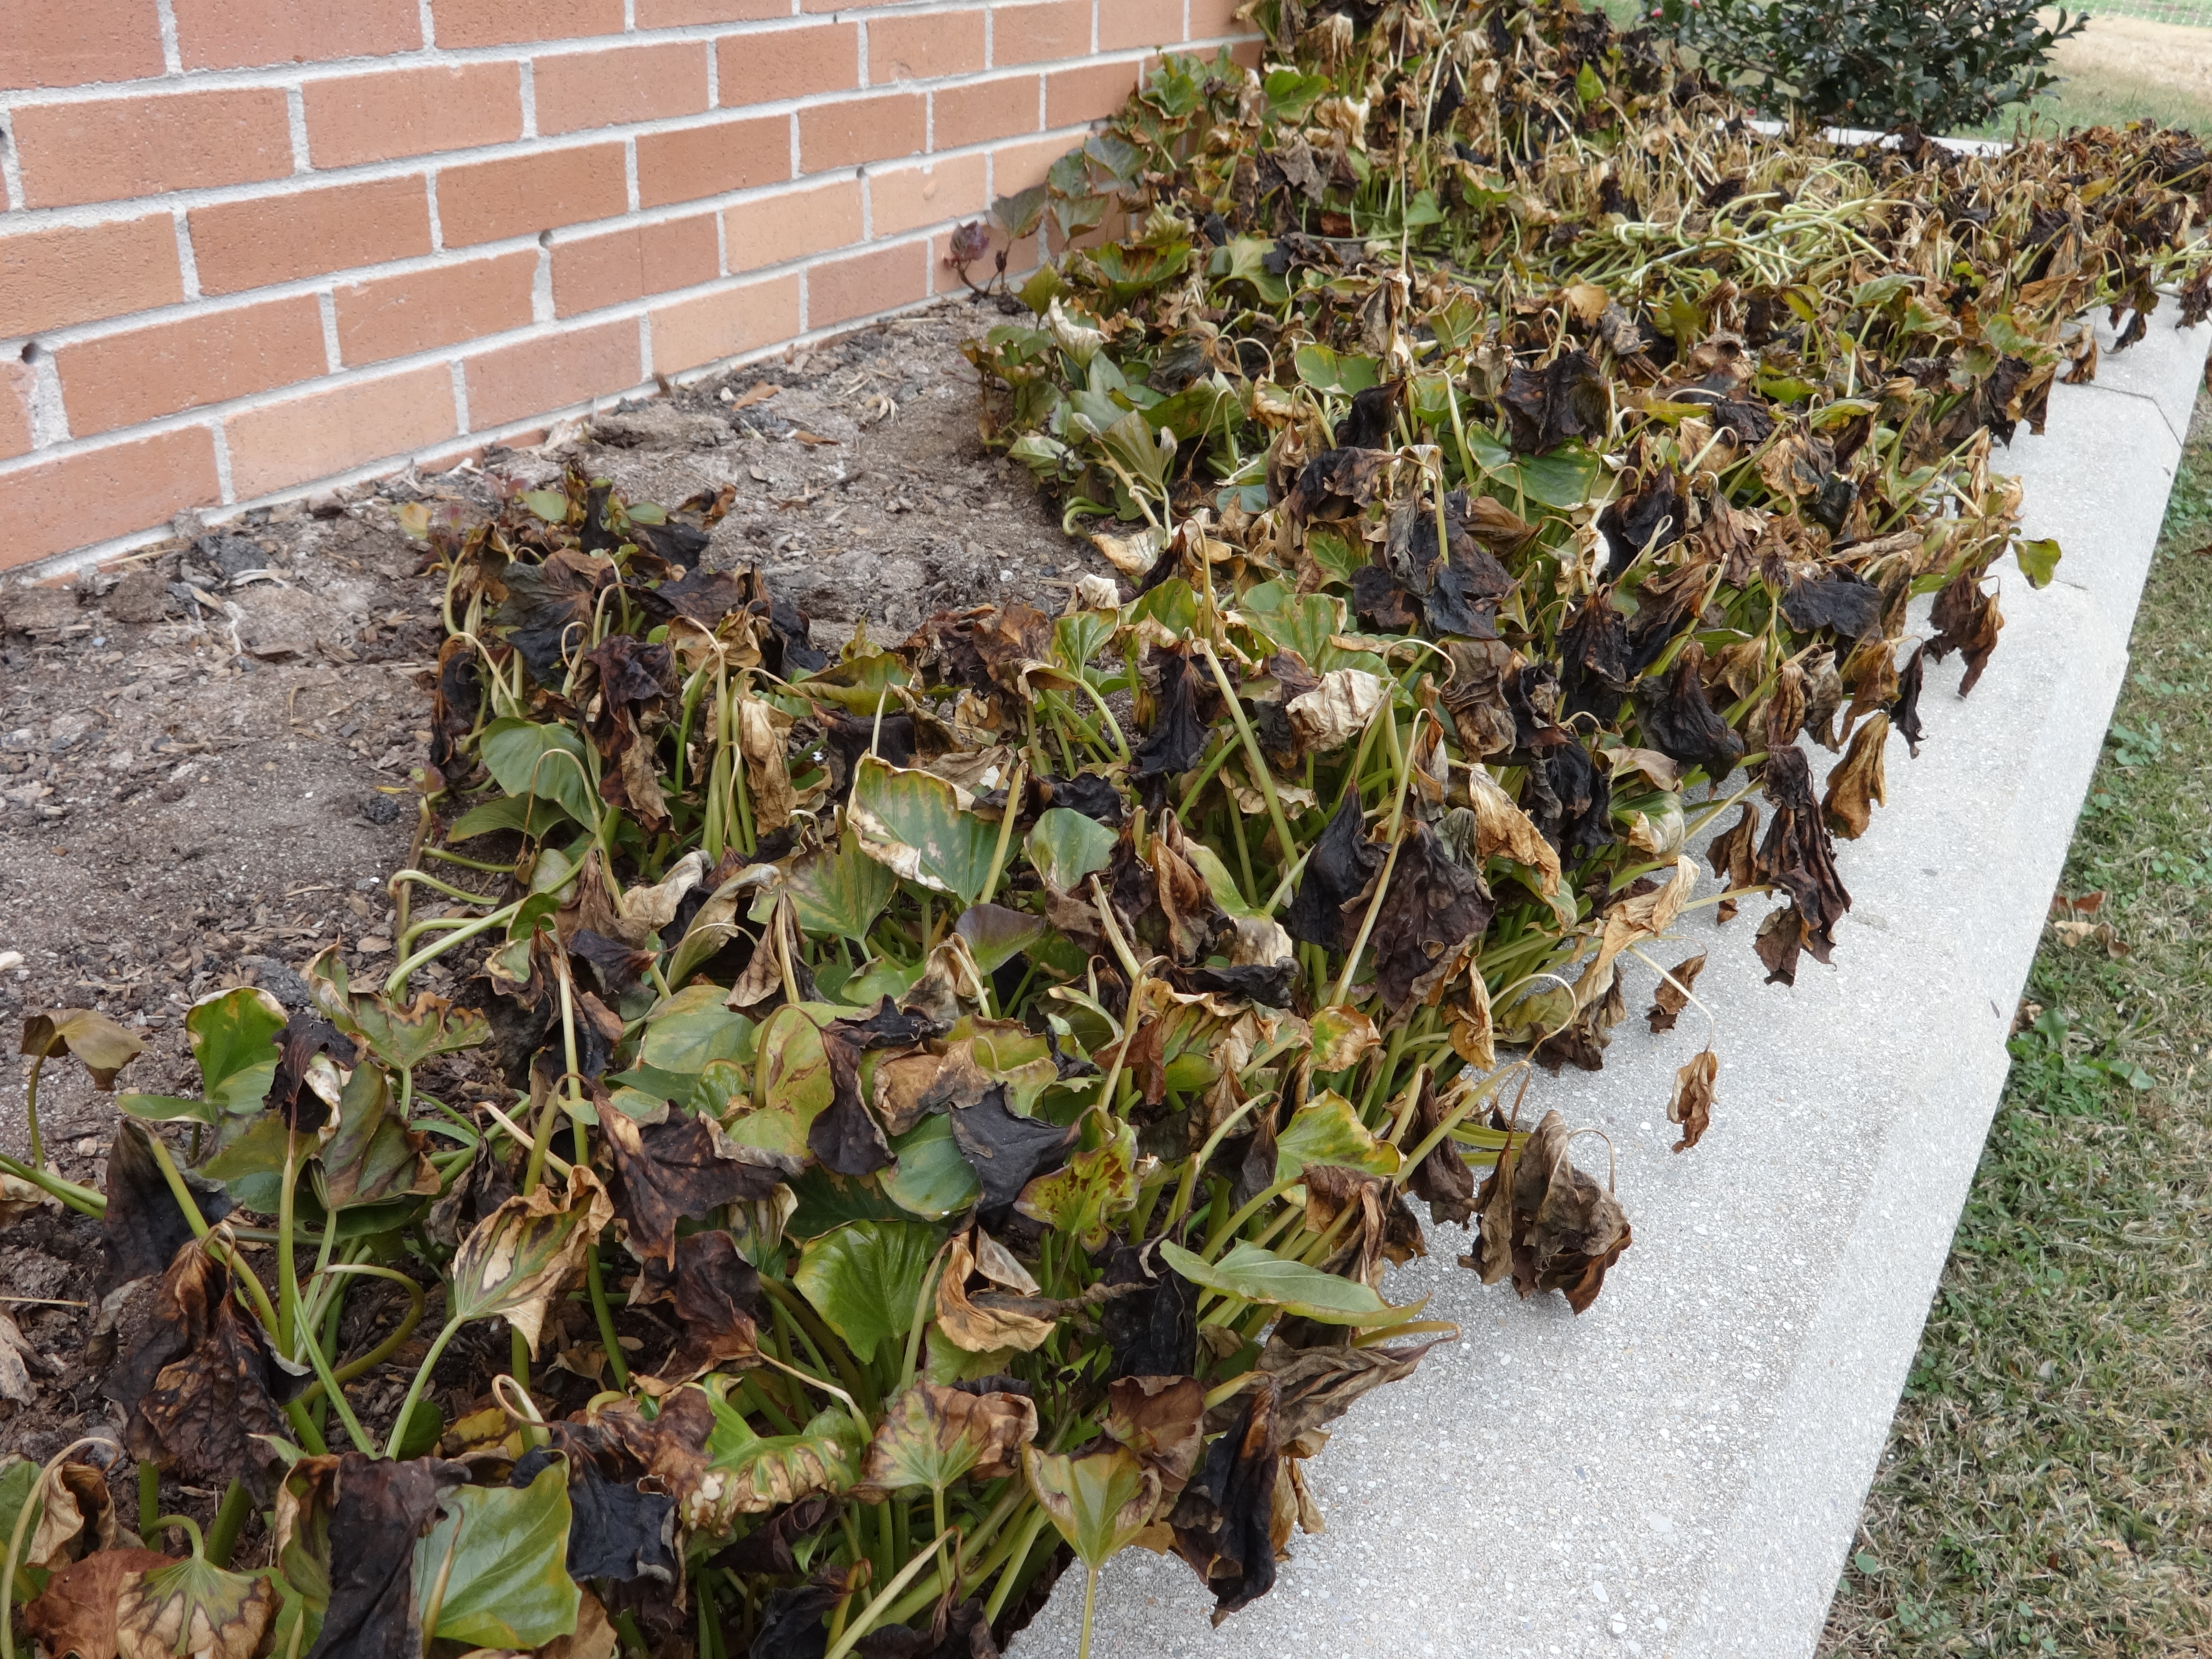
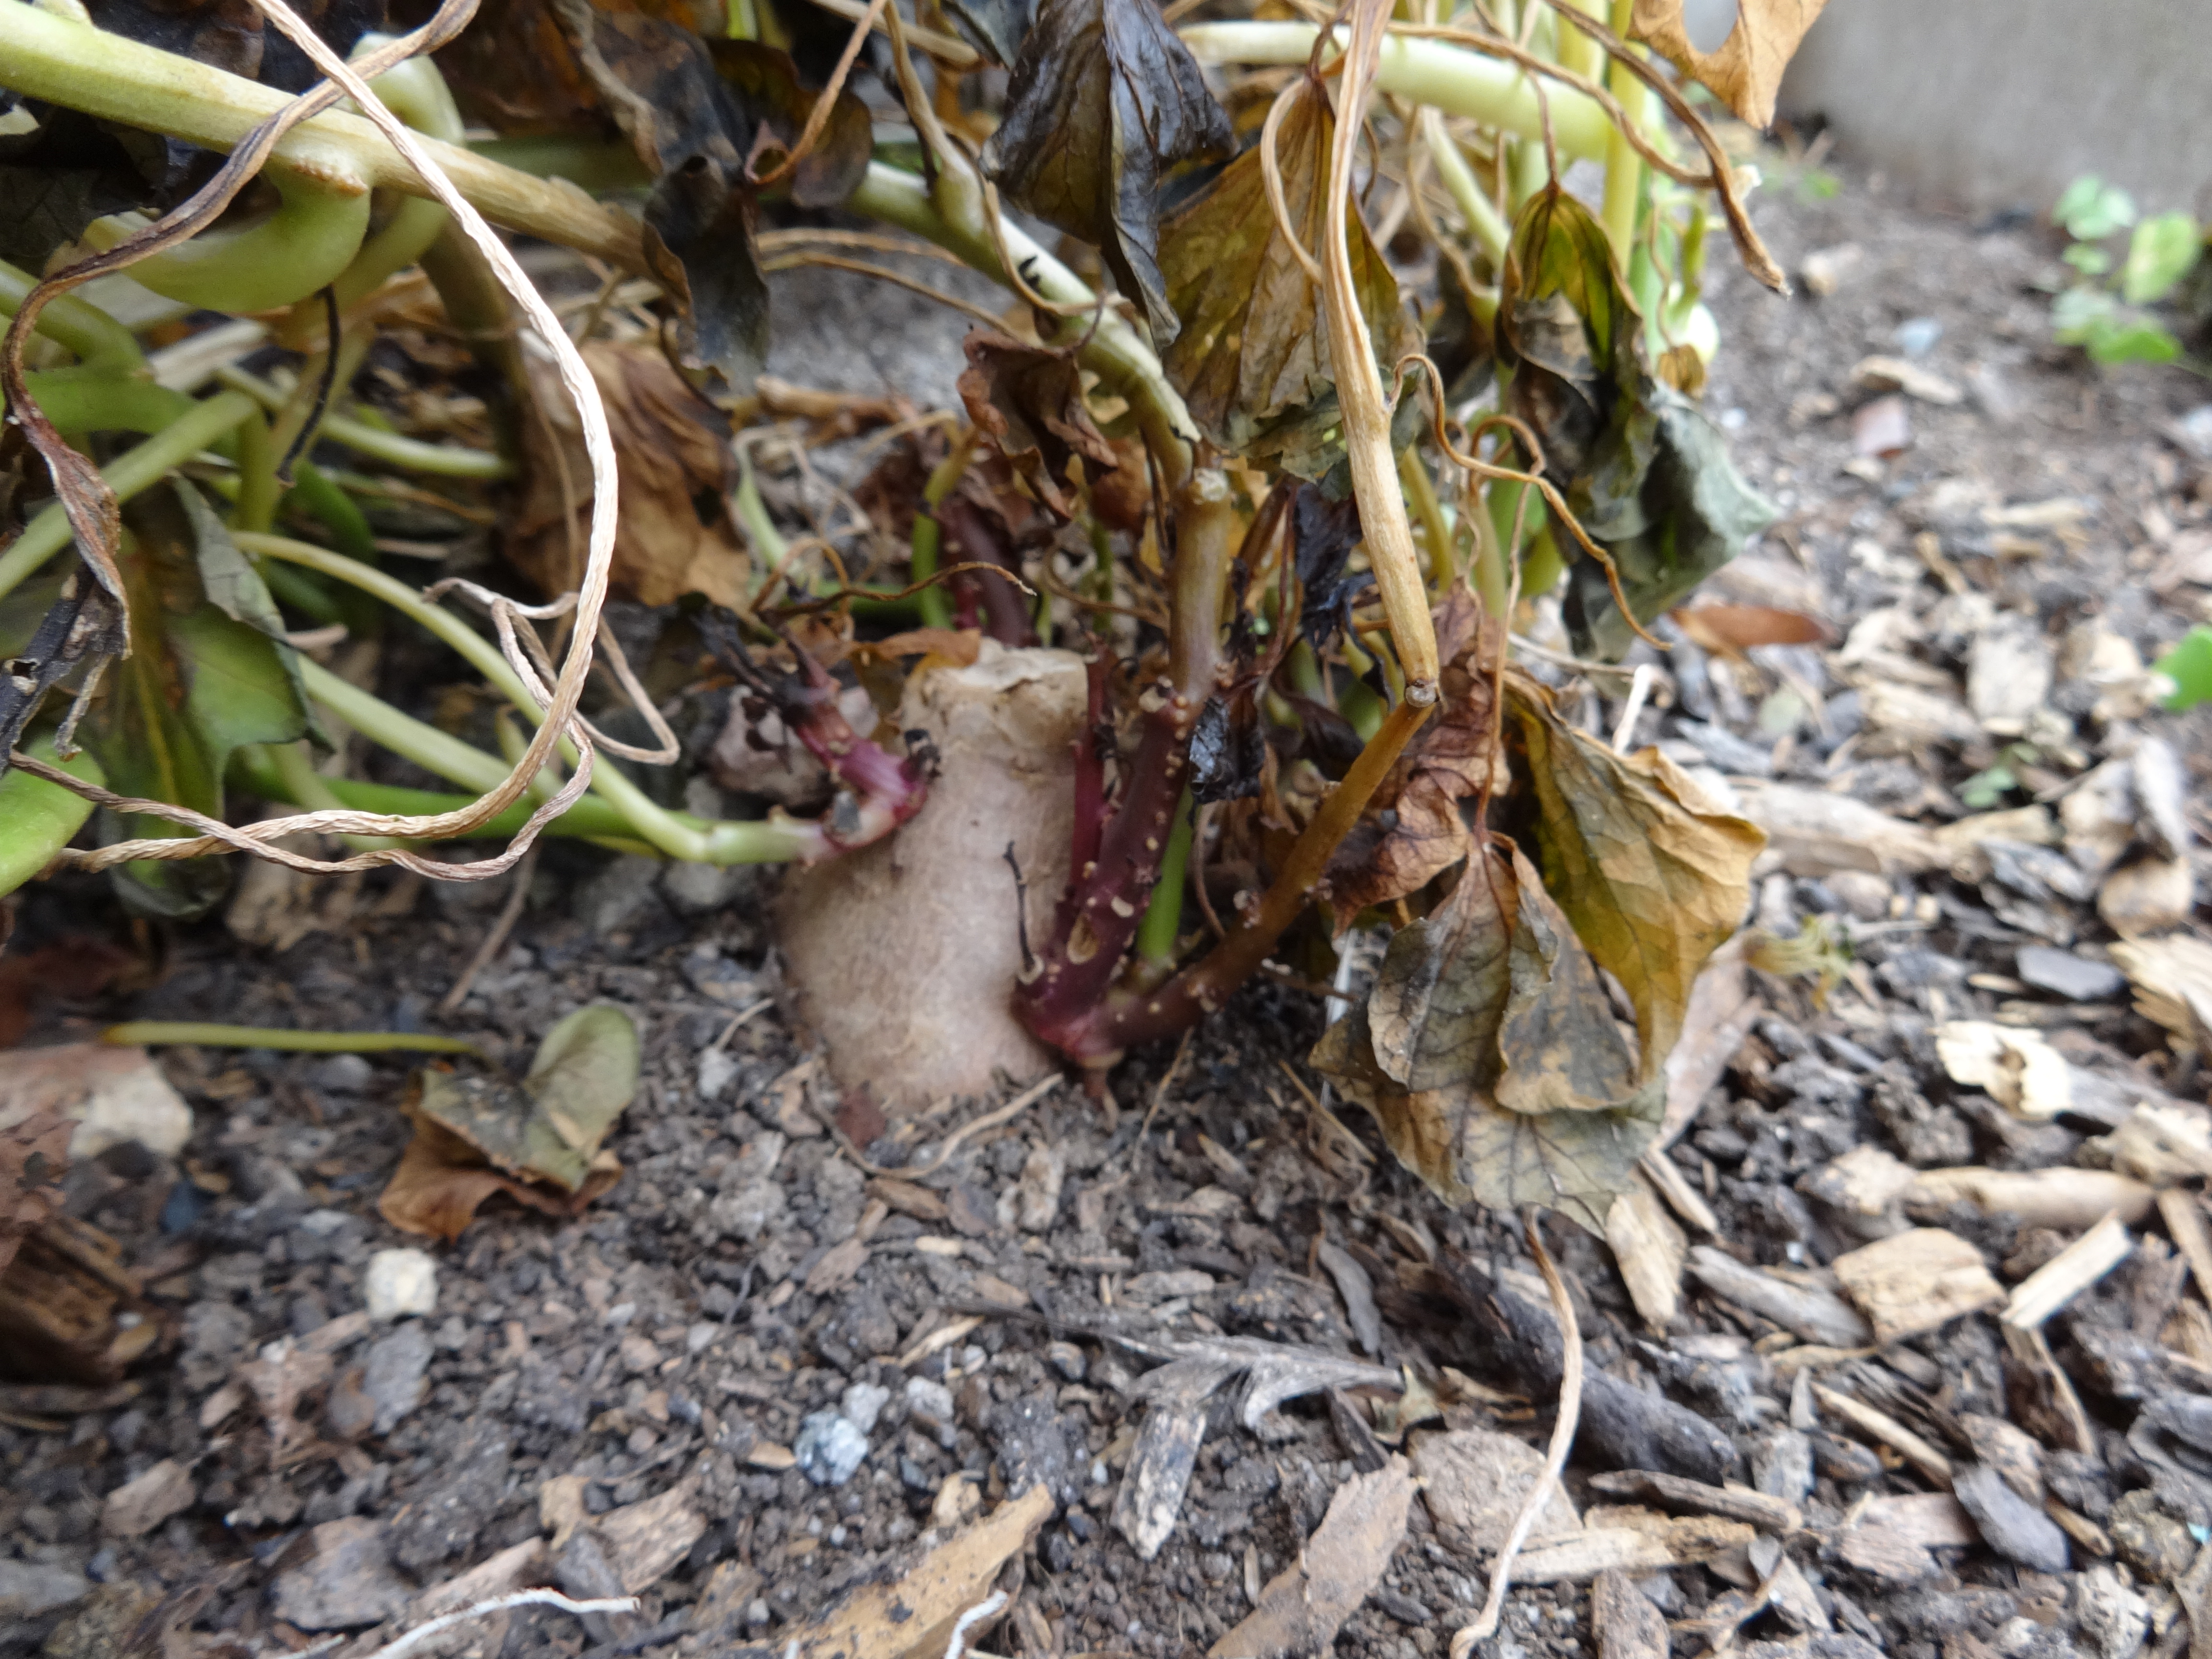
As you can see below, by the middle of November, the plants were mostly finished off by several blasts of cold weather from the north.

DSC02932

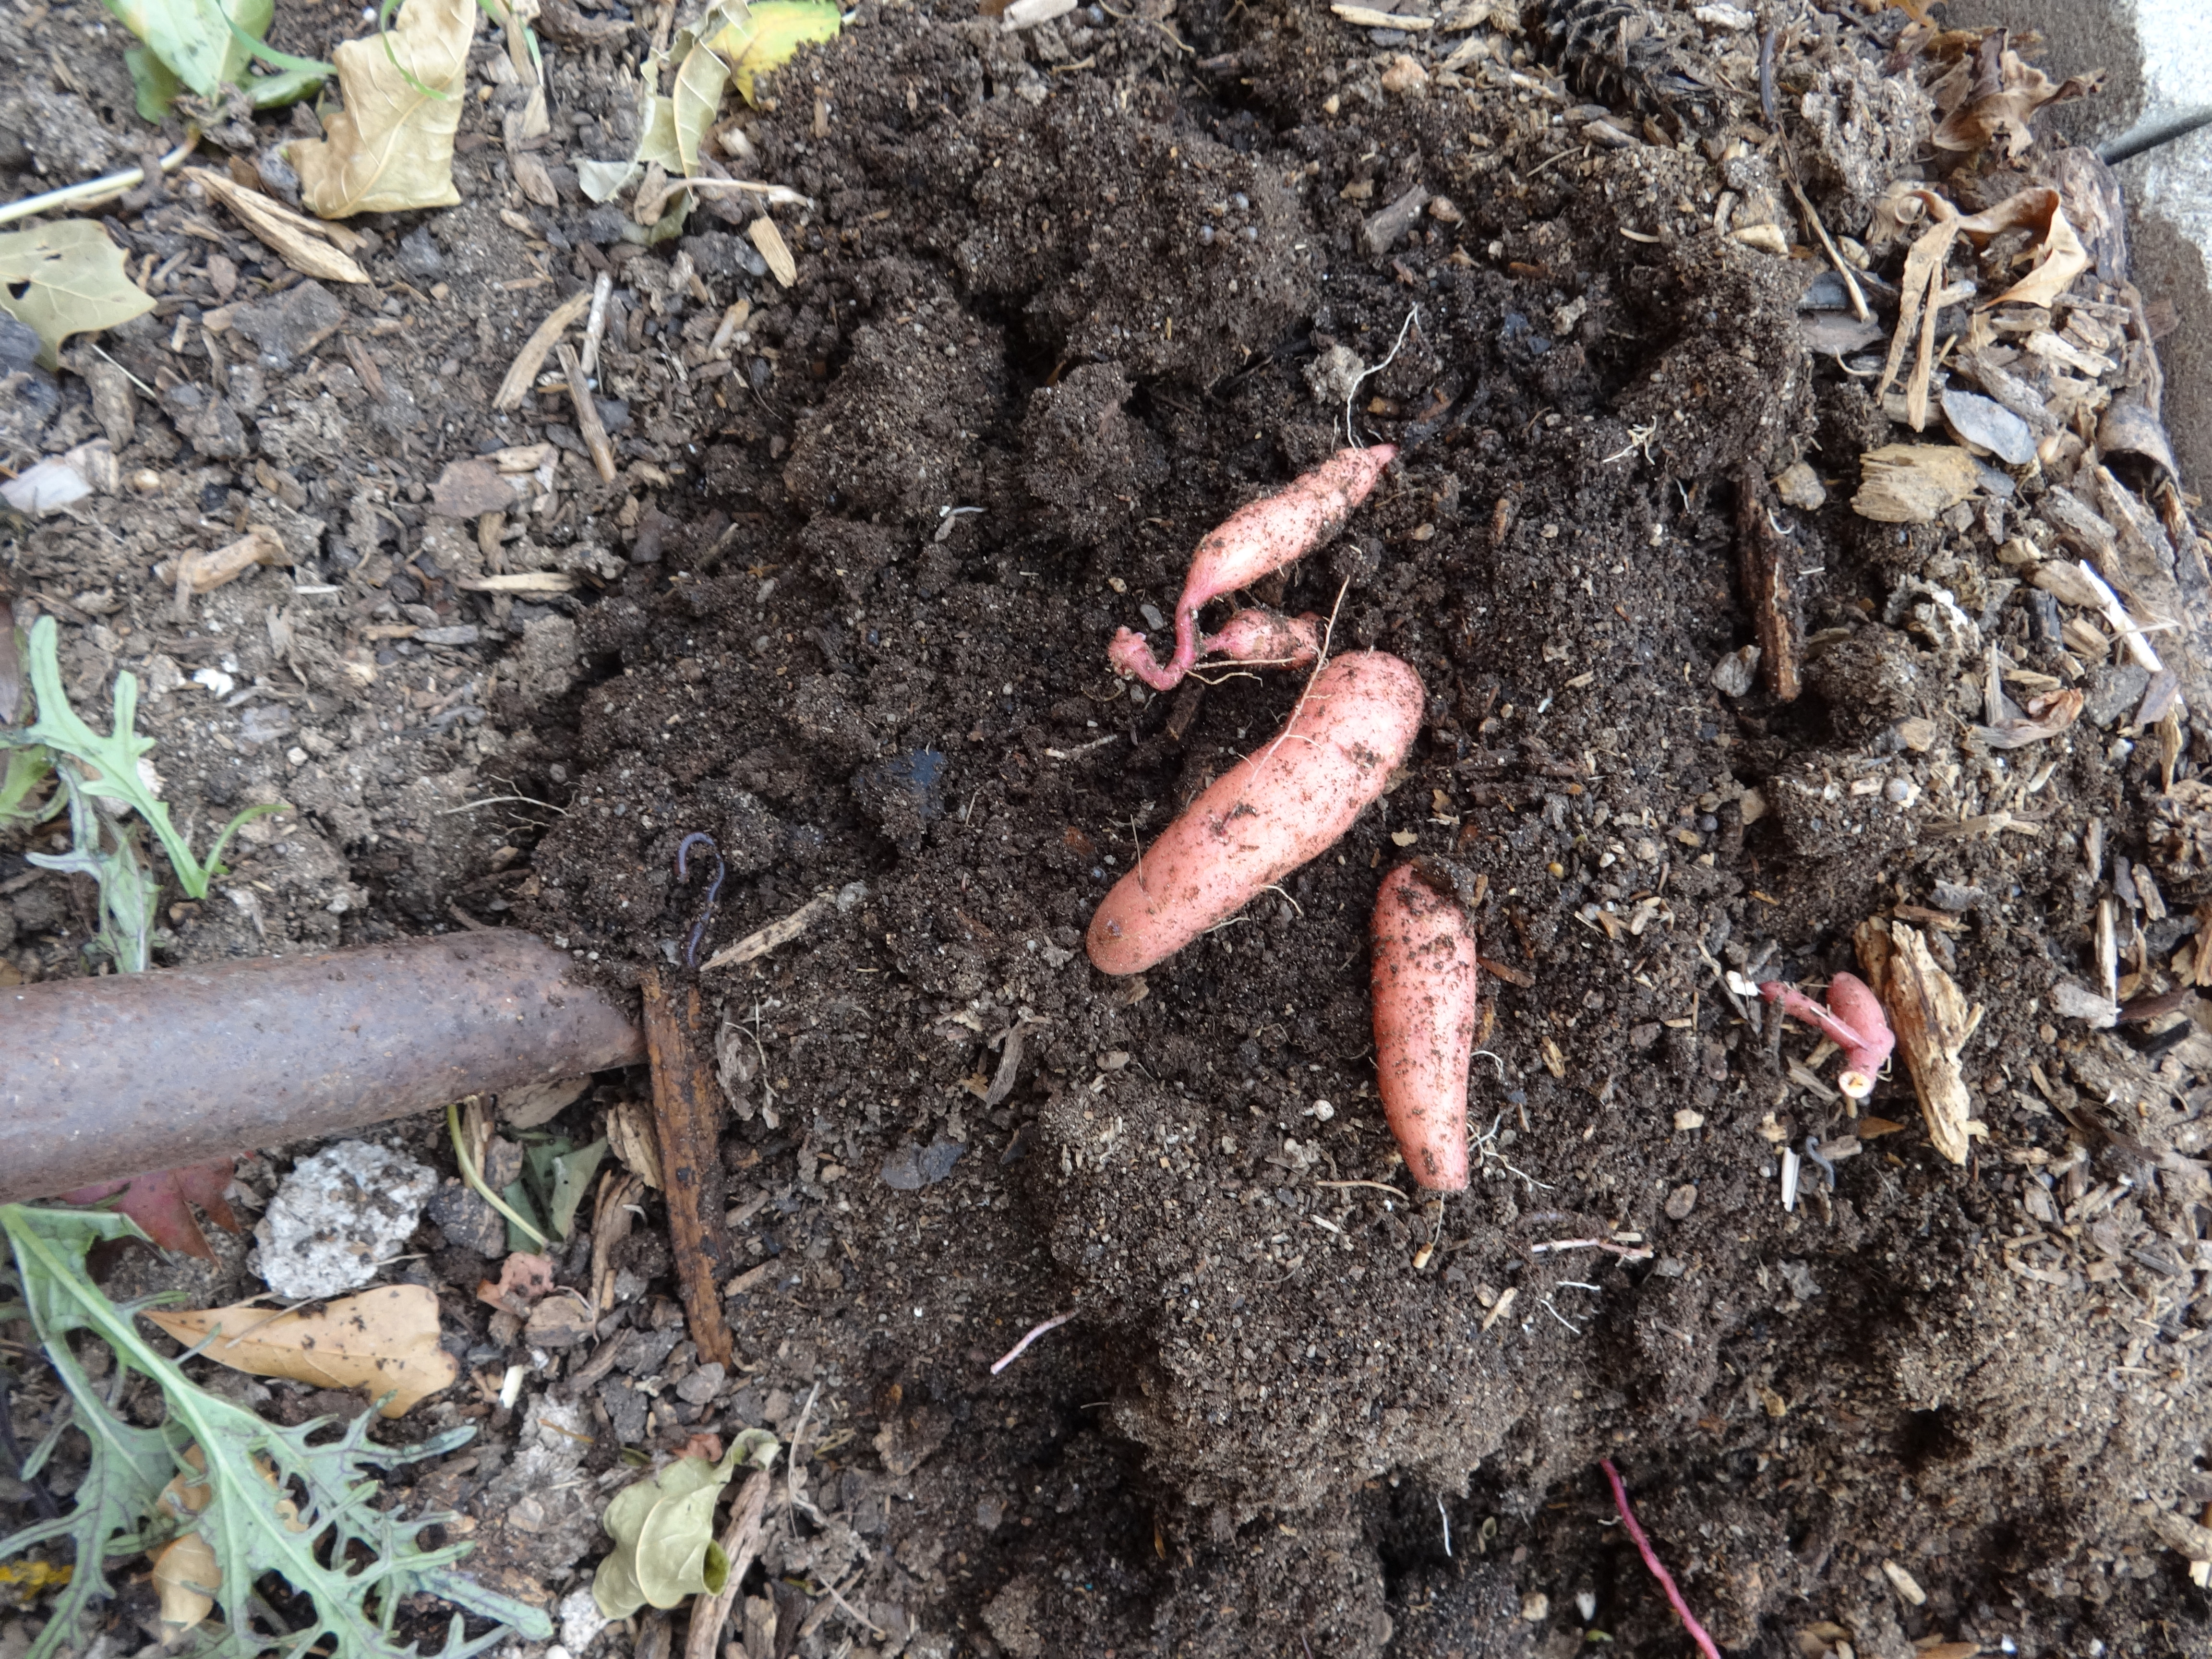
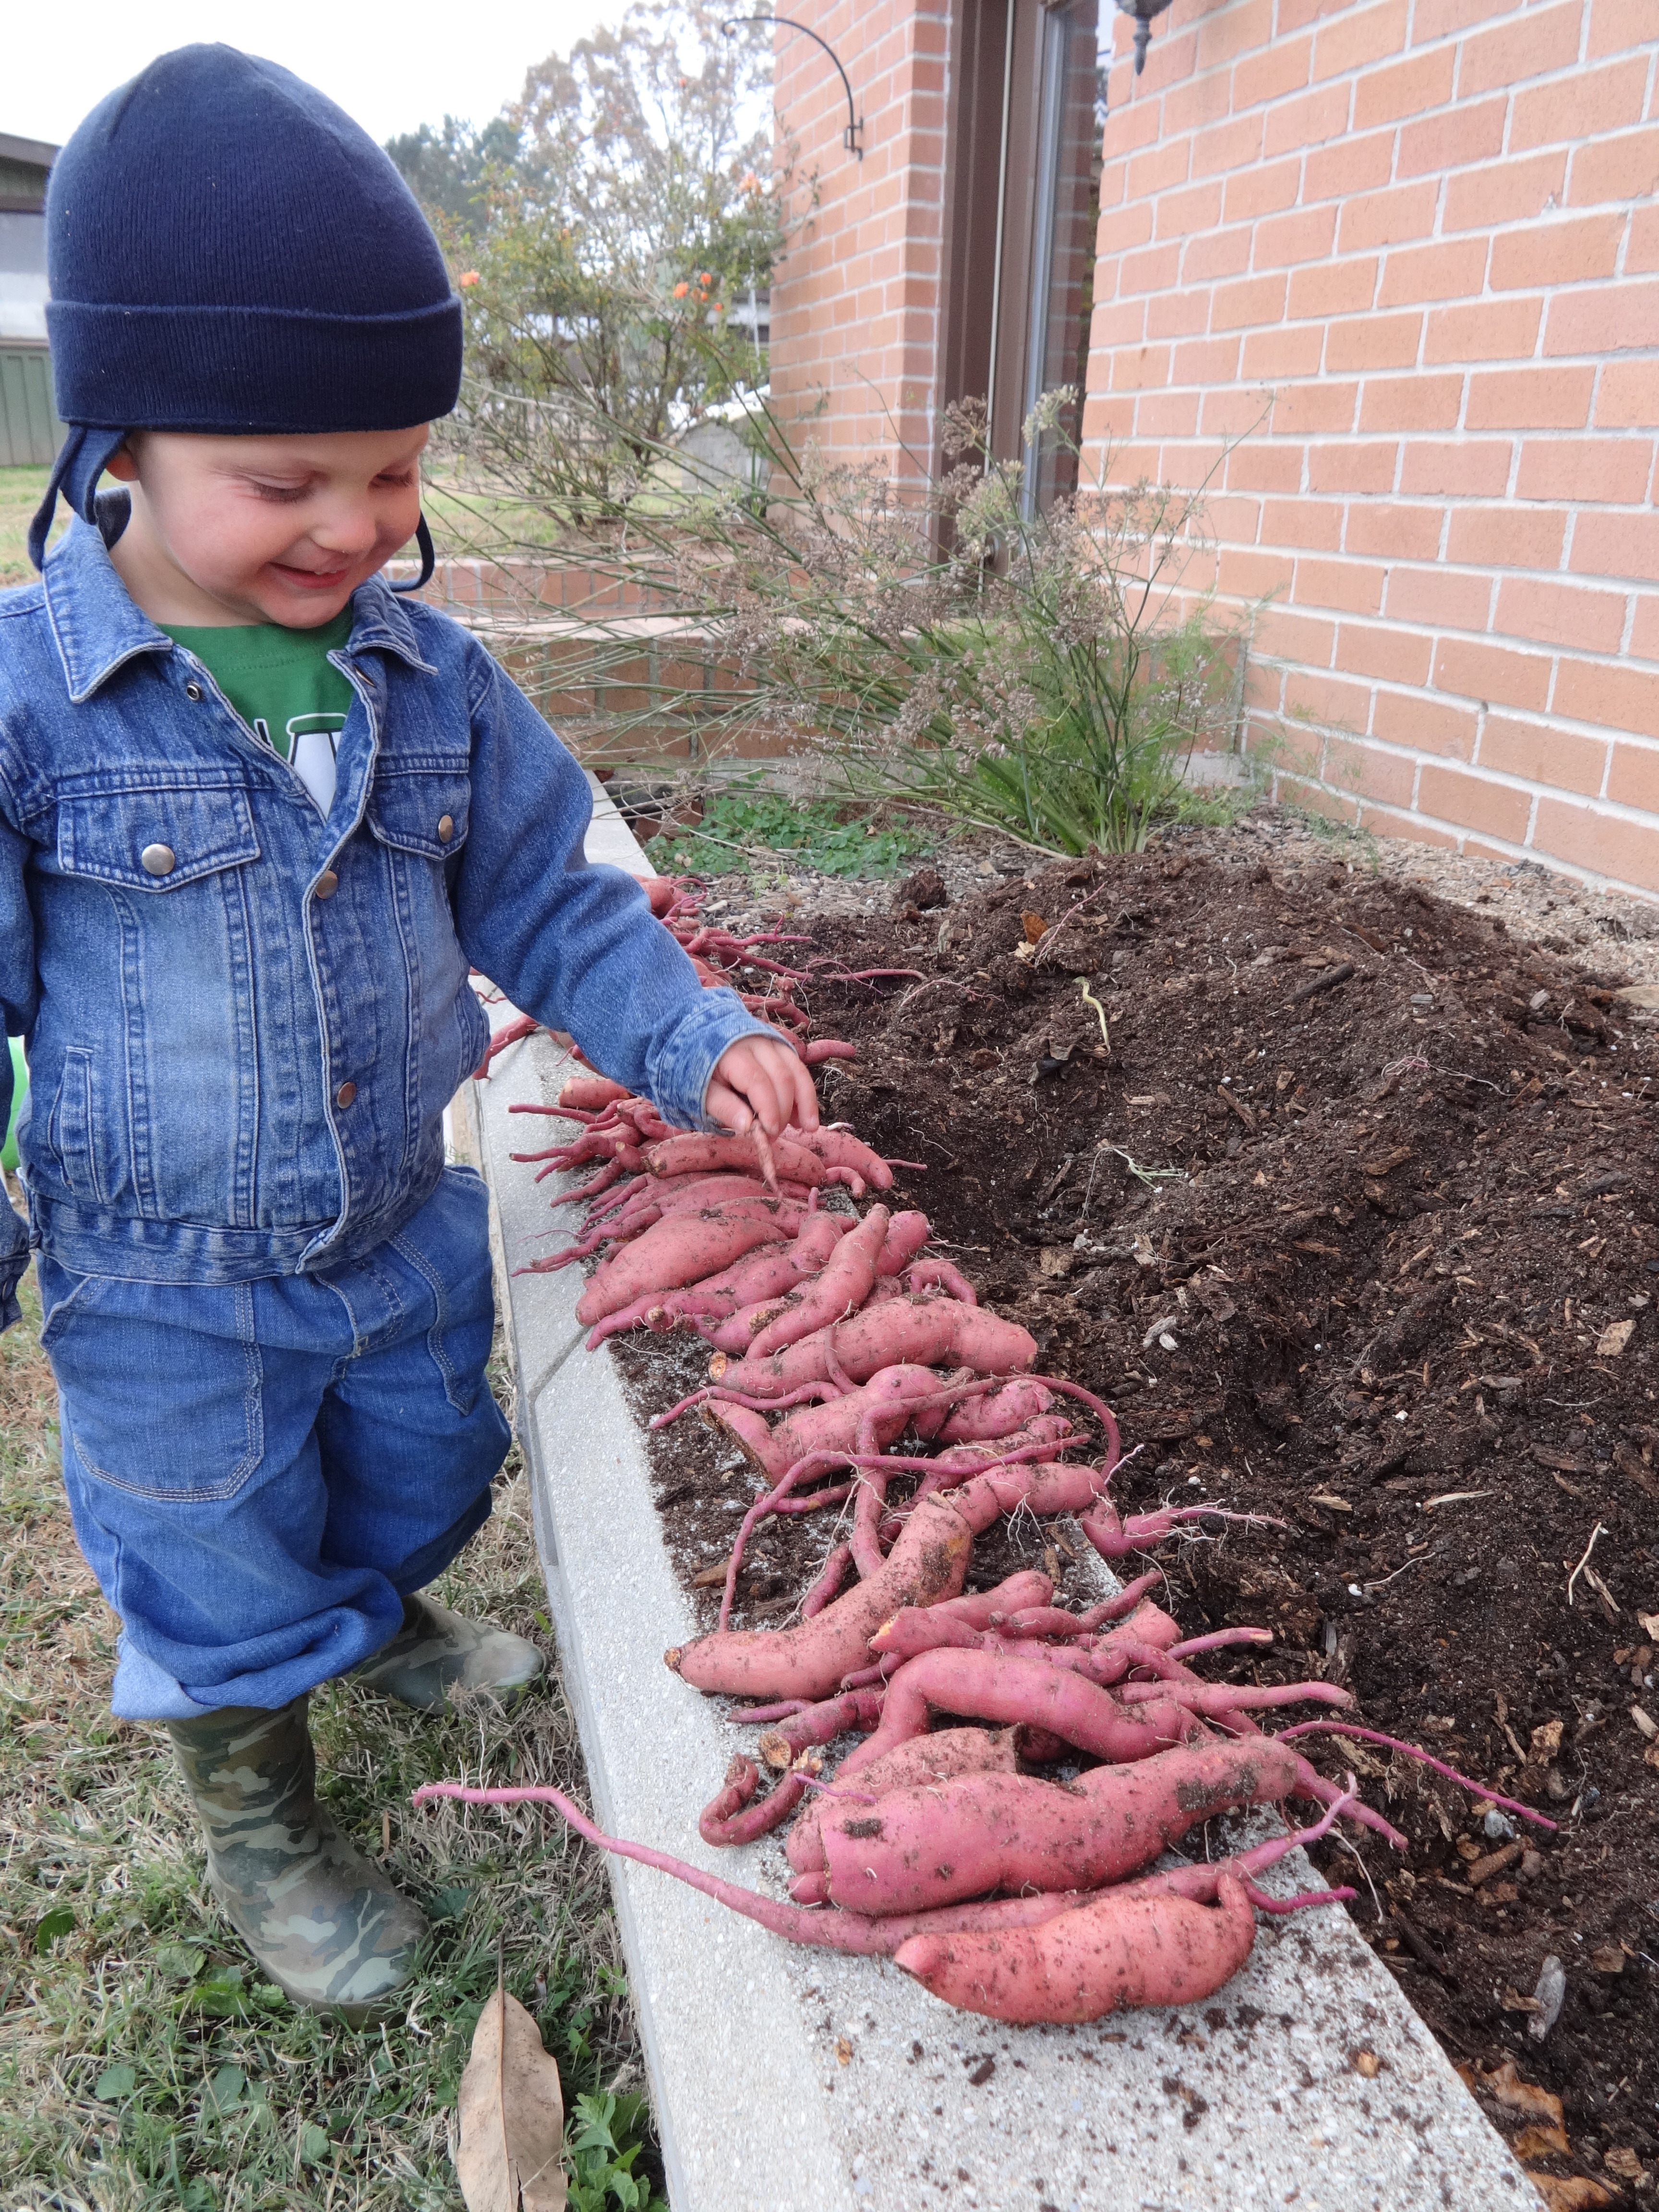
Now, the real fun began!  Mama & I each grabbed a shovel and were off to see if we had anything large enough to eat under all those leaves and dirt…..and lo, and behold…..we began unearthing actual sweet potatoes.  We were excited to say the least!

DSC02934

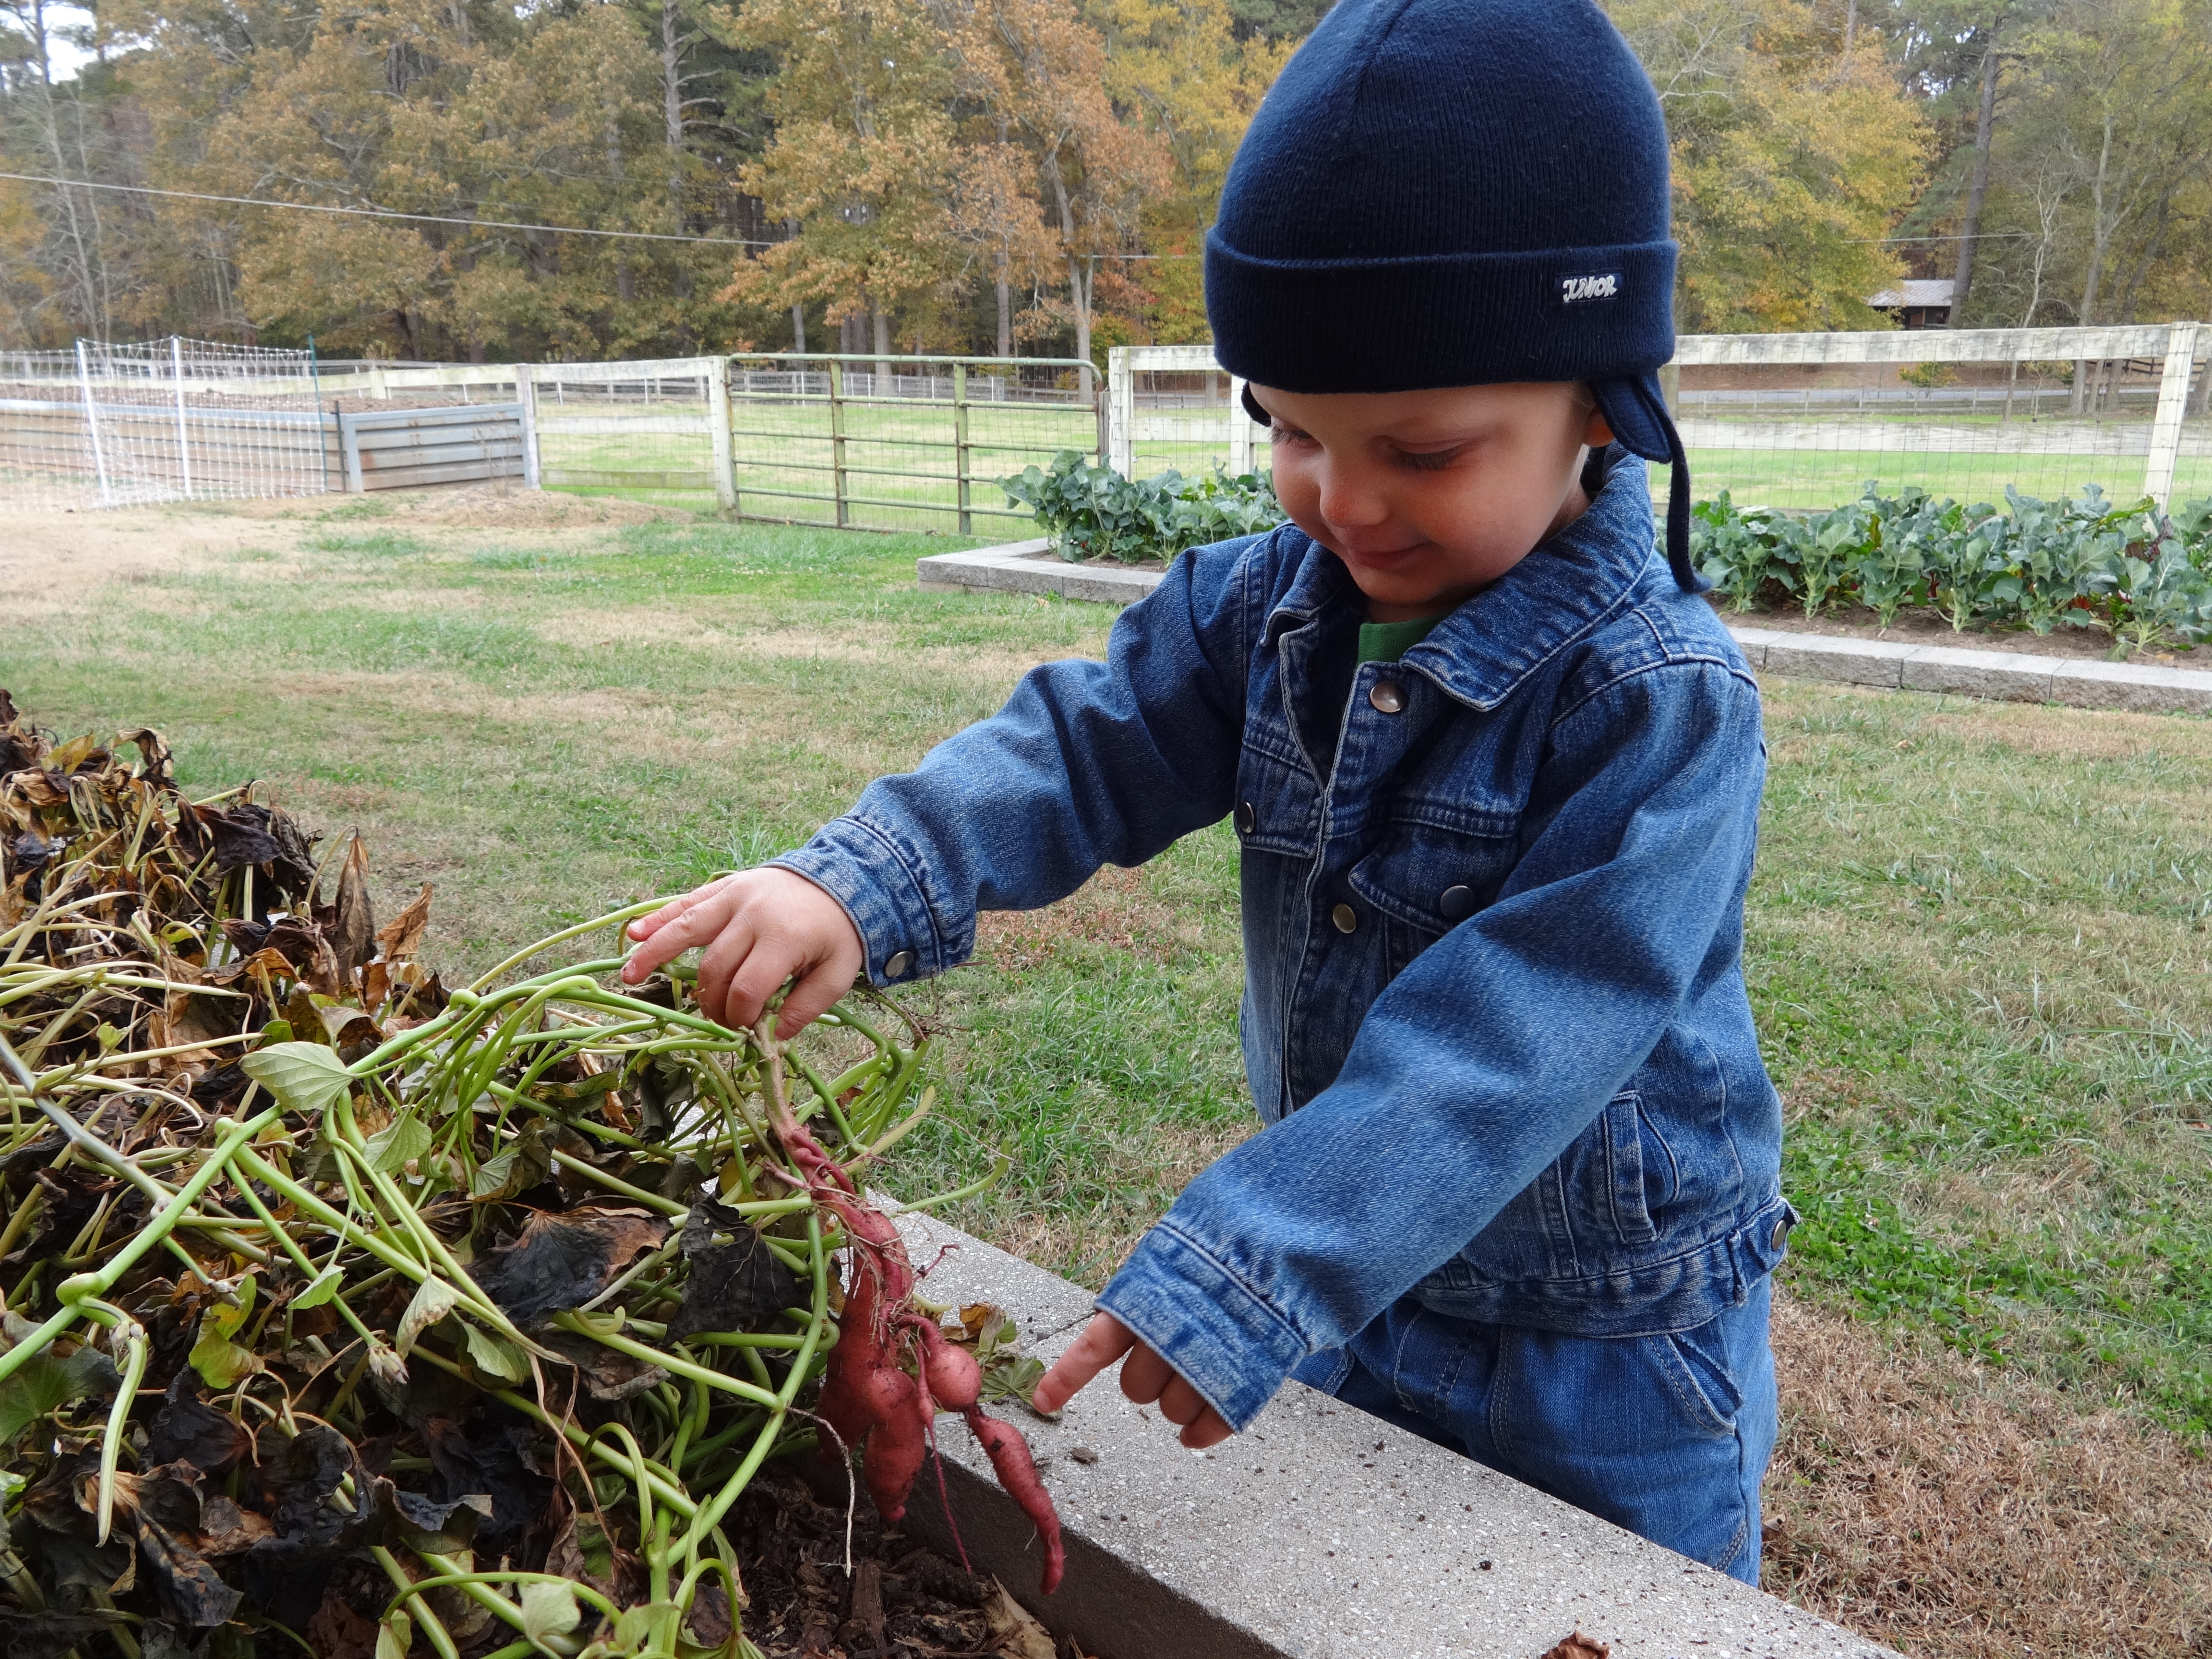
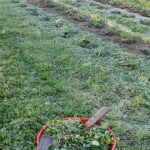
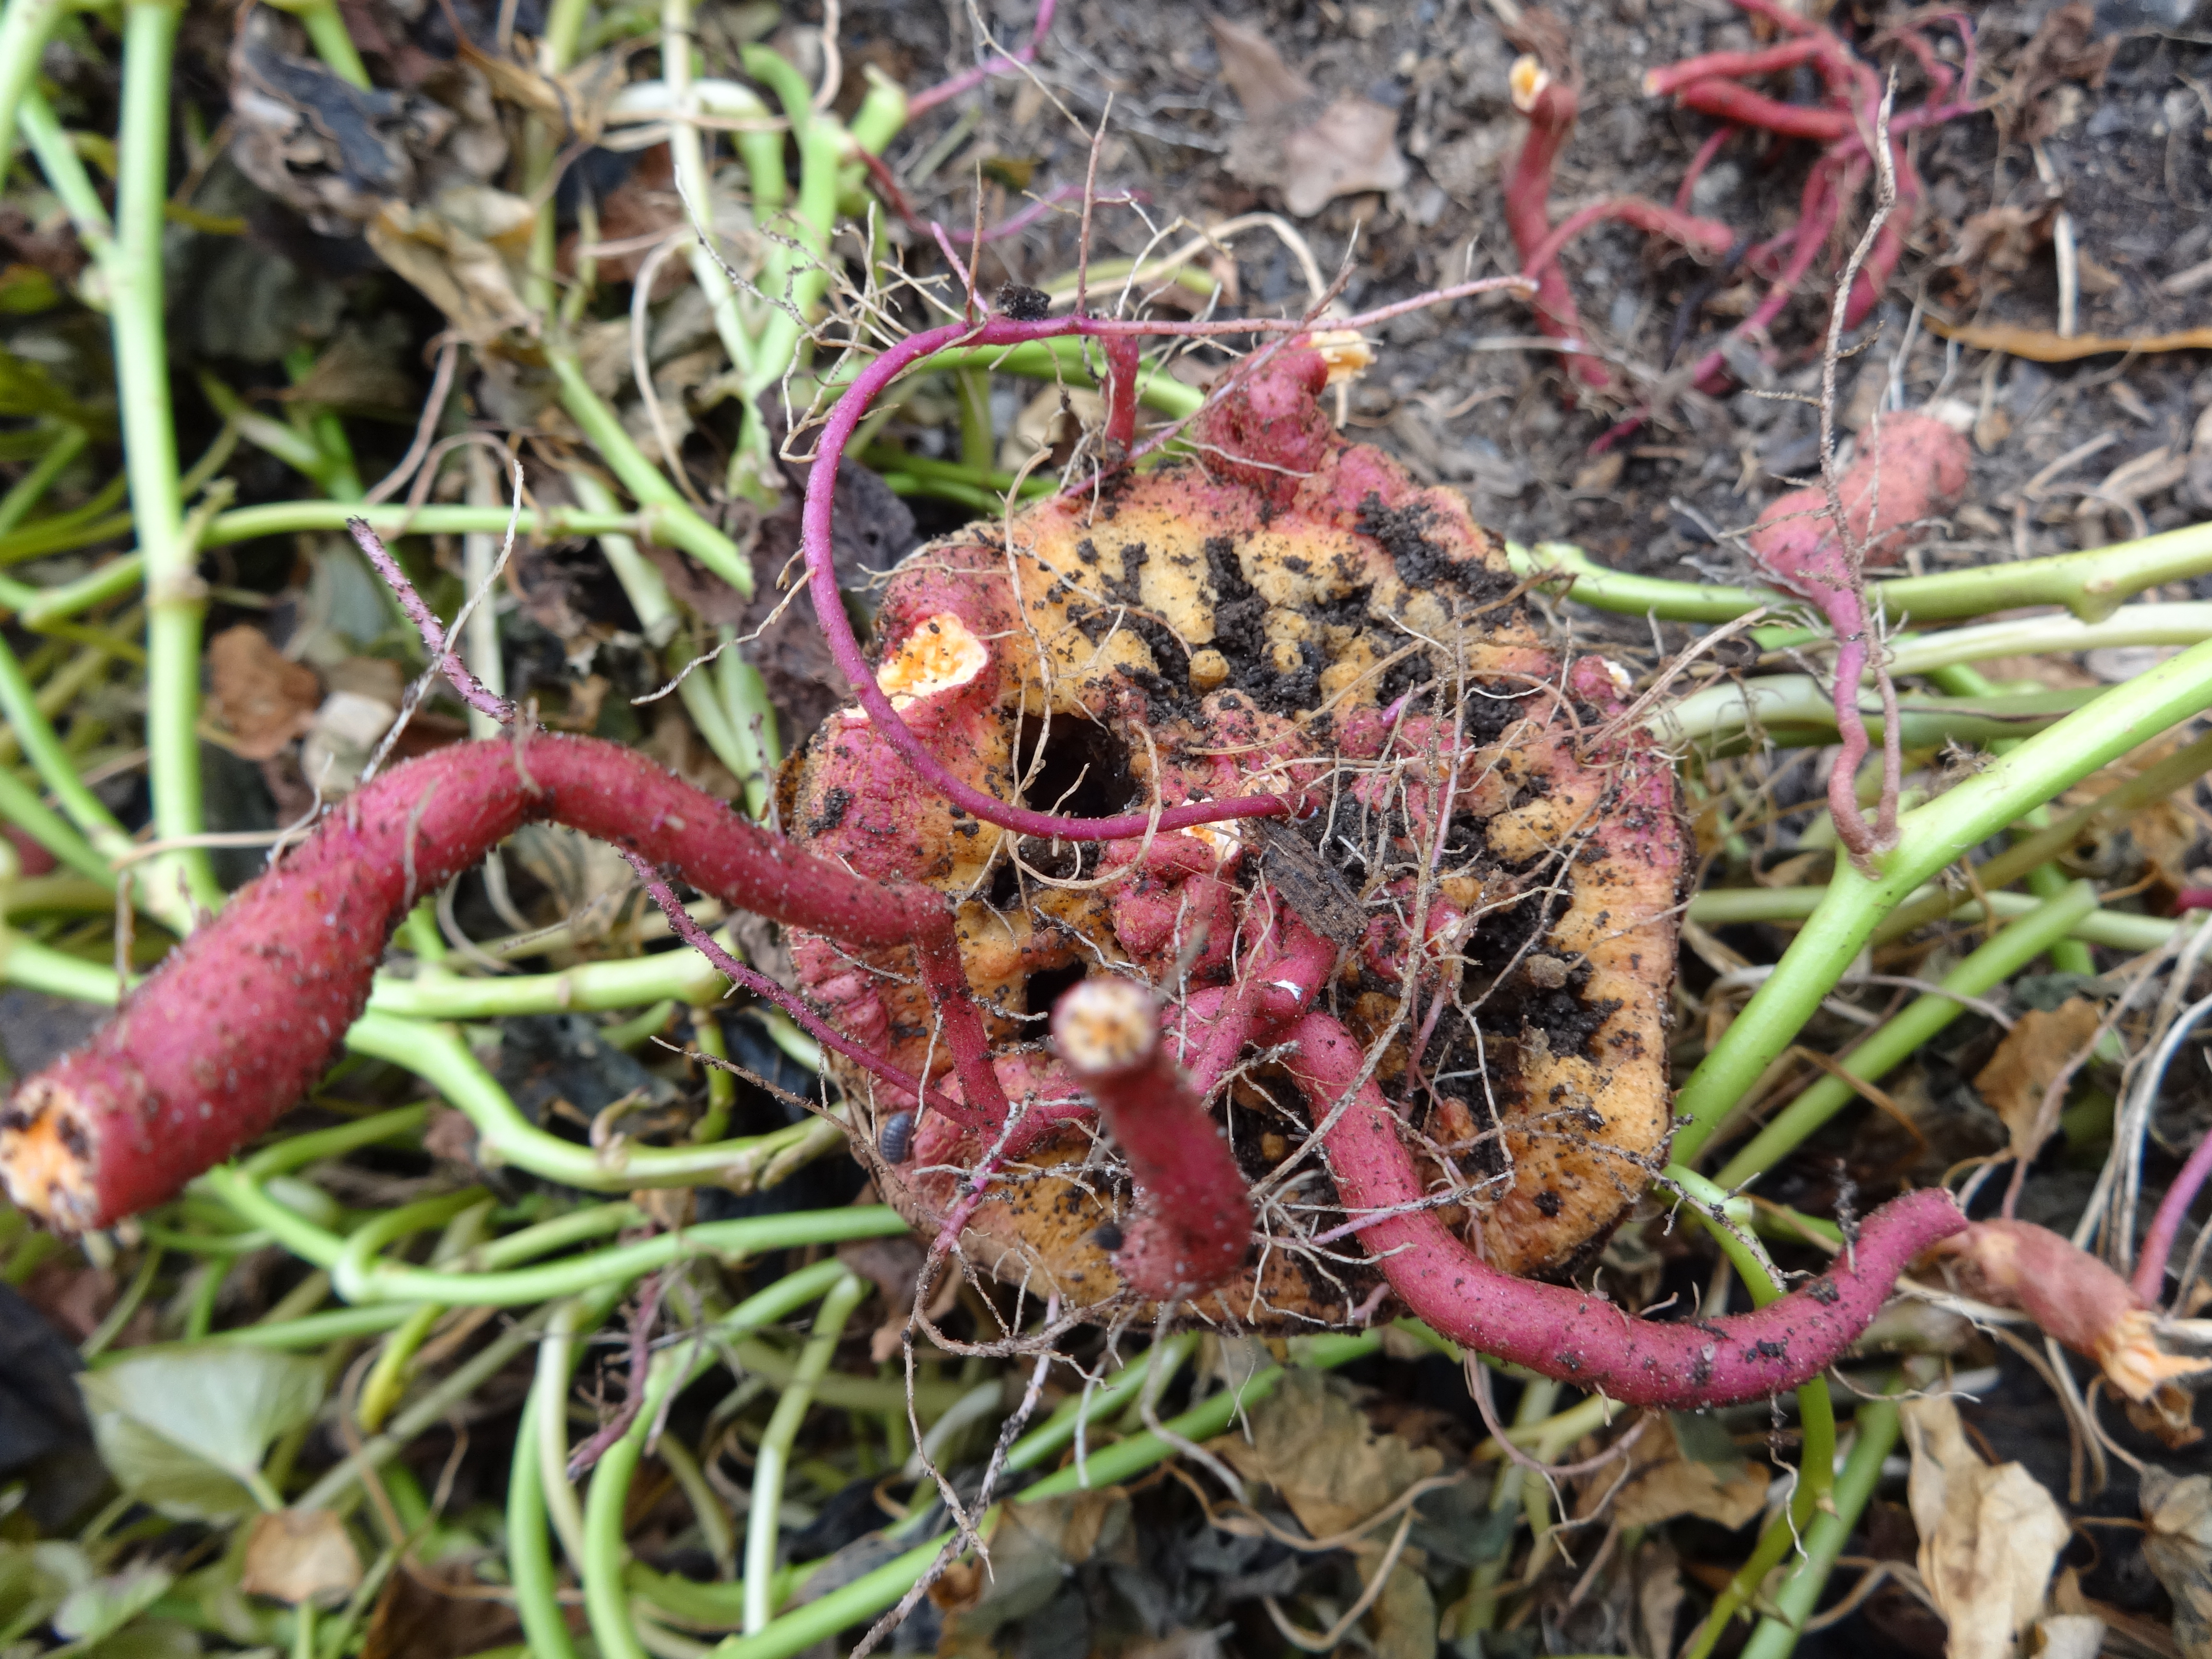
Remember how we had planted some of them still attached to the top of the potato?  Well, these grew more and larger potatoes then the ‘sweet potato slips’ we had broken off to root and grow on their own.  We had planted them with the top bit sticking out of the ground.

DSC02940

Most vegetable material that touches or is buried under the ground begins to rot very quickly, but not these sprouted potatoes!  Check out the jungle of roots under the piece of potato; each was growing several sweet potatoes underground.  When we pulled them up, they broke off near the main sweet potato piece we had planted.

DSC02939

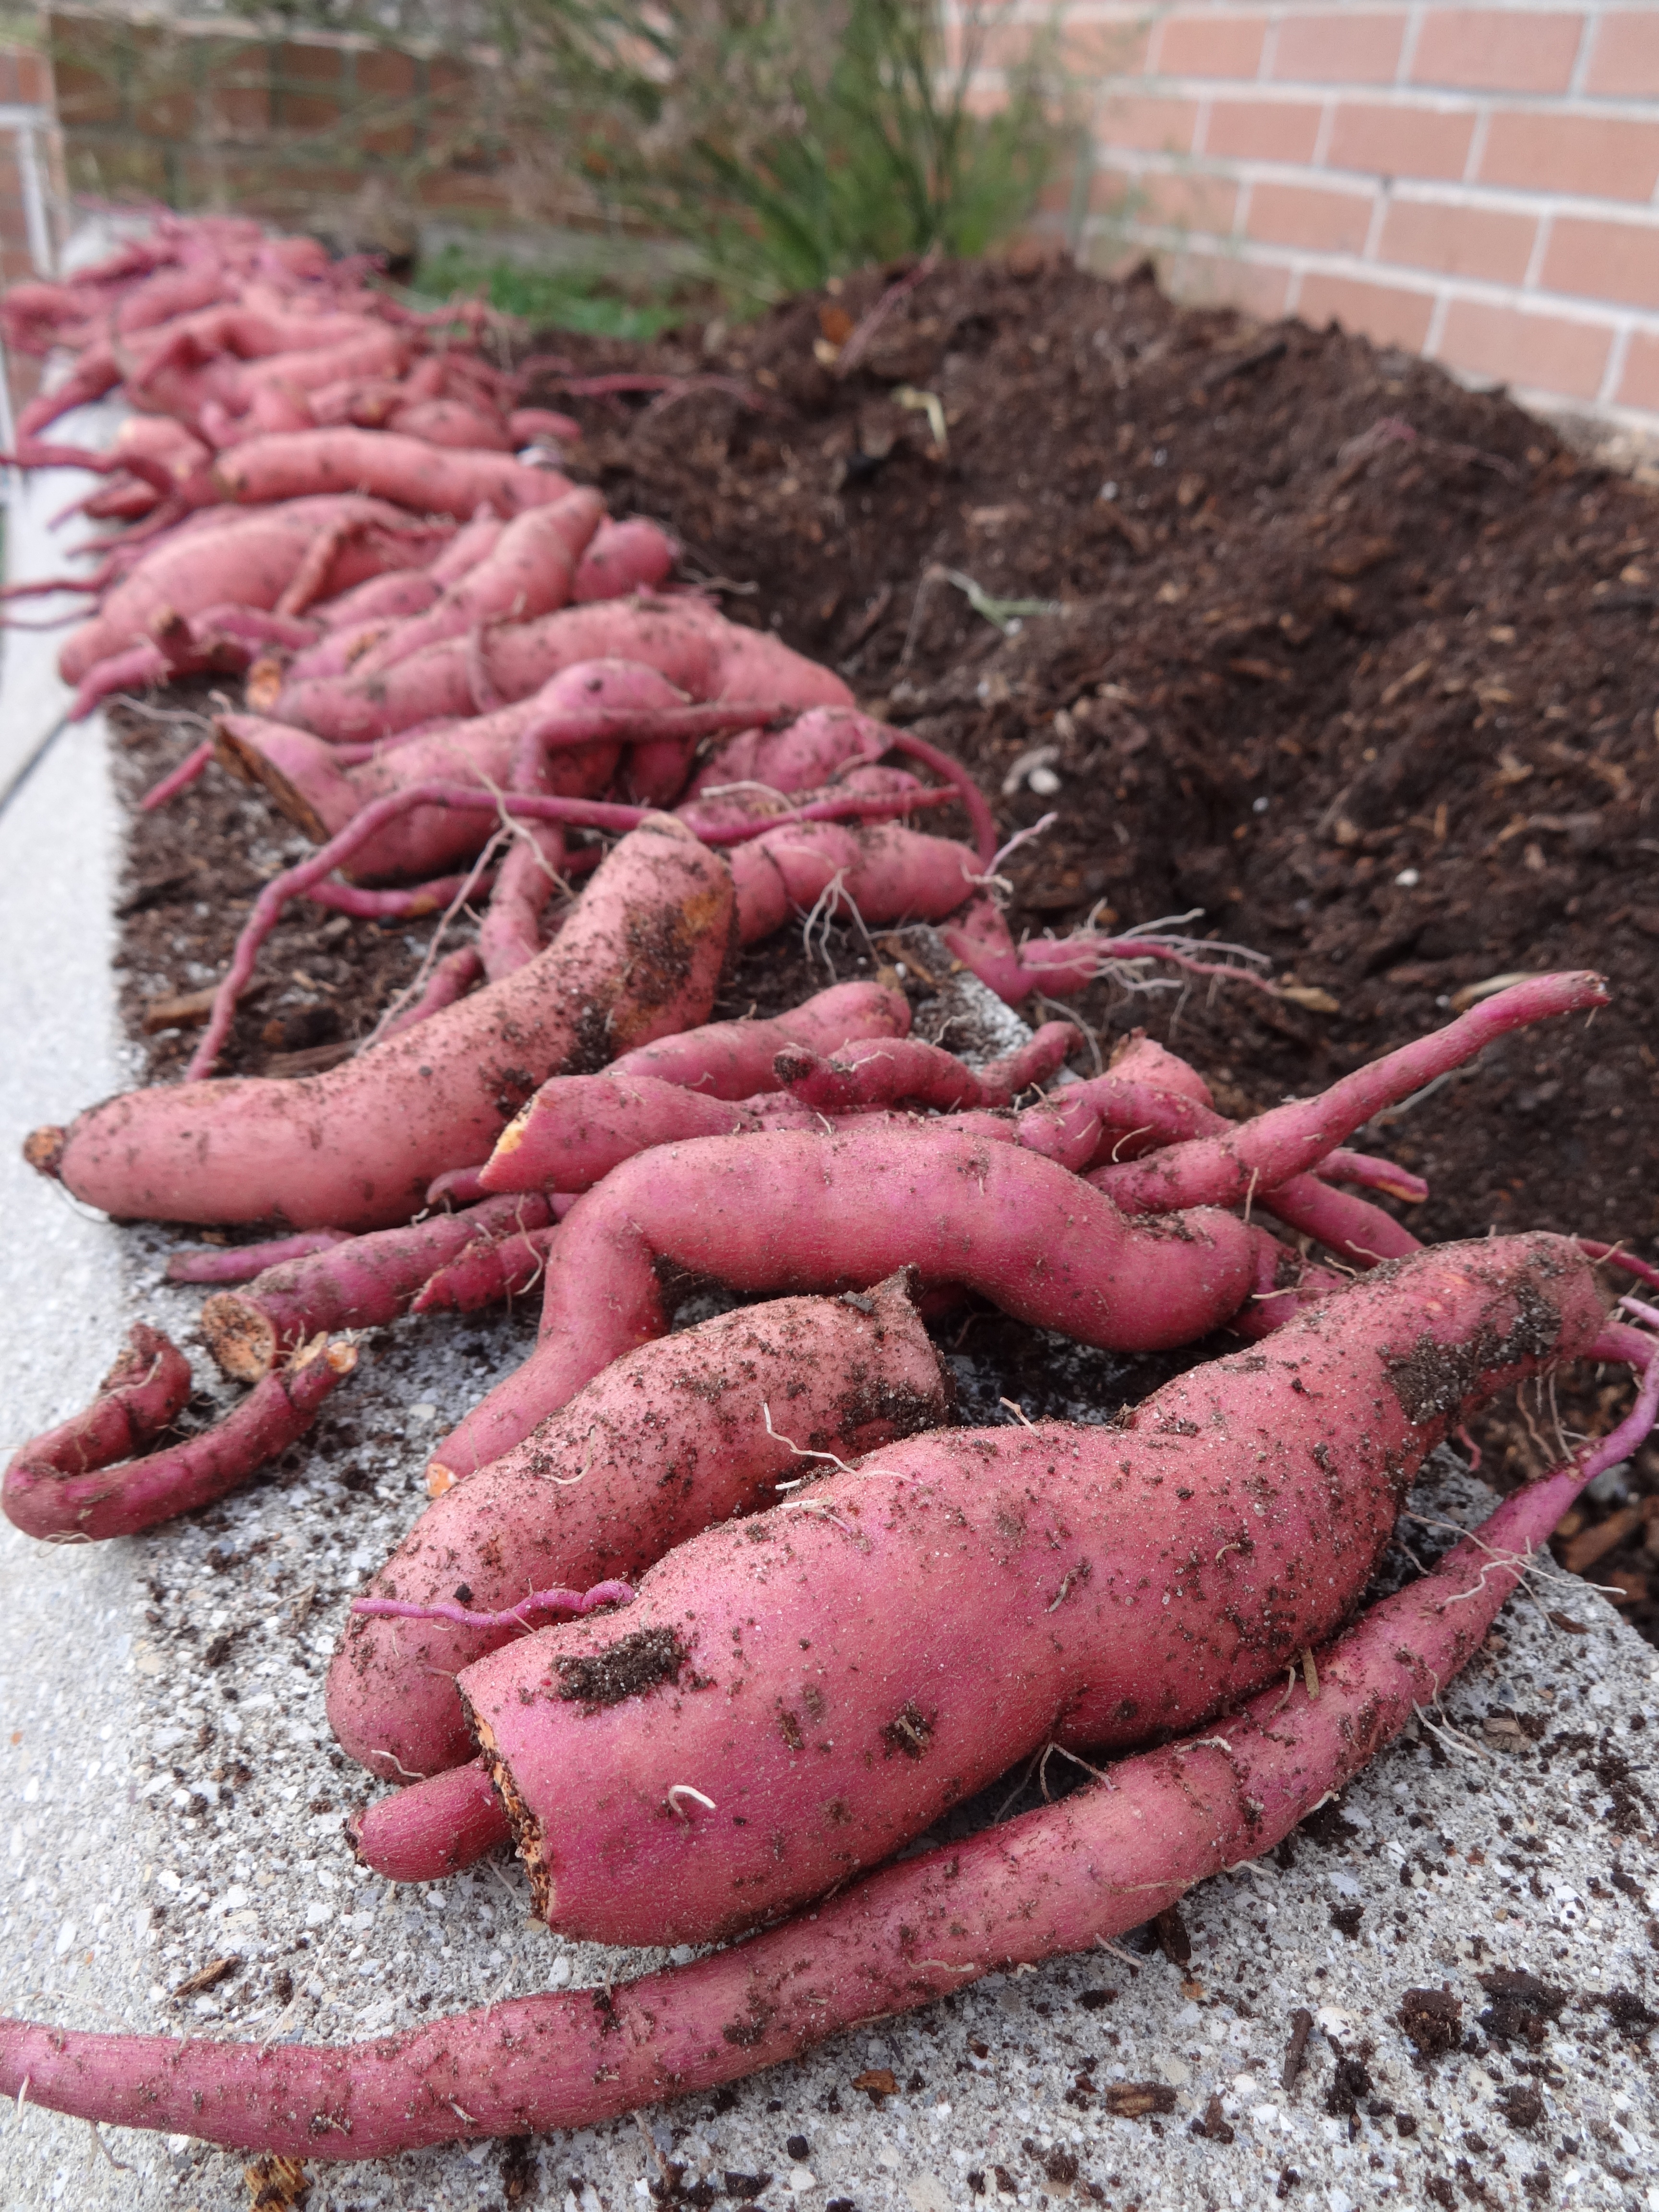
After that, we stuck in the shovels nice and deep and turned over the rich soil.

DSC02942

More and more and more Sweet Potatoes — YUM!!!

DSC02943

I’m sure glad we tried to grow them, even if it was a short amount of time.  I figure, a small sweet potato is better than no sweet potato!!!

DSC02944

Back inside, Mama got out her deep cast iron skillet with coconut oil, sliced up a few of the potatoes, and viola, we had delicious Sweet Potato fries (chips actually)!

DSC02981

It sure was a tasty lunch of my own Sweet Potatoes, soaked Lentils, and Grass-fed Beef!!!  Hard work in the garden pays off in a very finger-lickin’ way, don’t you think?  I hope to plants LOTS of Sweet Potatoes next year…..this time, in the springtime.  🙂

DSC02976

Posted in Gardening, Kids on the Farm | Tagged , | 2 Comments

November 27th, 2014: Thanksgiving Day

I found this speech many years ago and I have enjoyed reading it and sharing it even outside the end of November. God bless you on this often neglected holiday, and may the Lord bring this country to repentance, for indeed, we have forgotten God. This is Abraham Lincoln’s Thanksgiving Address. Enjoy!

The source of the text I borrowed can be found here.

Abraham Lincoln’s
1863 Thanksgiving Proclamation  

It is the duty of nations as well as of men to own their dependence upon the overruling power of God; to confess their sins and transgressions in humble sorrow, yet with assured hope that genuine repentance will lead to mercy and pardon; and to recognize the sublime truth, announced in the Holy Scriptures and proven by all history, that those nations are blessed whose God is the Lord.

We know that by His divine law, nations, like individuals, are subjected to punishments and chastisements in this world.  May we not justly fear that the awful calamity of civil war which now desolates the land may be a punishment inflicted upon us for our presumptuous sins, to the needful end of our national reformation as a whole people?

We have been the recipients of the choicest bounties of heaven; we have been preserved these many years in peace and prosperity; we have grown in numbers, wealth and power as no other nation has ever grown.

But we have forgotten God.  We have forgotten the gracious hand which preserved us in peace and multiplied and enriched and strengthened us, and we have vainly imagined, in the deceitfulness of our hearts, that all these blessings were produced by some superior wisdom and virtue of our own.  Intoxicated with unbroken success, we have become too self-sufficient to feel the necessity of redeeming and preserving grace, too proud to pray to the God that made us.

It has seemed to me fit and proper that God should be solemnly, reverently and gratefully acknowledged, as with one heart and one voice, by the whole American people.  I do therefore invite my fellow citizens in every part of the United States, and also those who are at sea and those who are sojourning in foreign lands, to set apart and observe the last Thursday of November as a day of Thanksgiving and praise to our beneficent Father Who dwelleth in the heavens.

A. Lincoln
October 3, 1863


Posted in Other Posts | Tagged , , , | 4 Comments

Planting Strawberries and other Fall Crops!

No, don’t go plant your fall crops now; we planted ours a couple of months ago, but I’m just now getting this post put together. When we got our gardens ready for the fall crops several weeks ago I posted about it here. Benjamin Horevay helped us actually plant the crops. My mom started a few things from seed; kale, cabbage, broccoli, and cauliflower to name a few. We planted what starts came up and were ready, then we direct seeded to fill in where the starts weren’t enough volume for our needs. There’s not a lot very particular about the planting instructions for most of these crops. Kale and spinach can be planted much closer than cabbage or broccoli of course, but strawberries take a little more care.

Here’s our garden (in our front yard!). Benjamin and I are laying out the rows with stakes, string, a hoe and a rake. In this picture, we’ve already planted the winter crops and we’re laying out the strawberry rows. In the past we’ve planted triple rows: 3 rows 12″ apart, and the plants 12″ apart down the rows. This year we’re expanding the spacing to see if we can make more berries per plant by giving each plant more room to grow; we’re planting double rows 18″ apart with the plants 18″ apart in the rows.

DSC02053

We order strawberry starts each year. It’s difficult, if not impossible here in Bermudagrass heaven, to keep a patch of strawberries from year to year. We’ve opted to pay a relatively small fee for fresh new plants each year rather than fight Bermudagrass. It breaks into pieces when you weed it, and any shred of root comes back with little help, so we let the Bermuda win the battle each year, but we win the war when we apply our Kubota tractor and a tiller attachment to start fresh each fall!

Strawberries need a bit of care when you plant them. The crown must be right at the level of the dirt; not too deep, not too shallow. Too deep and the crown smothers and can kill the plant or retard it’s growth so you won’t get any berries, too shallow and the tender roots will struggle with drying out on the surface of the ground.

Everybody was busy planting while Ellie watched over the plants.

Herrick Kimball has written quite a bit about a man named E.P. Roe. In Herrick’s gardening book, he quotes E. P. Roe talking about strawberries, saying: ‘Strawberries have three needs. The first is water. The second is more water still. And the third is yet more water!’ Technically speaking, the strawberry is like a sub-aquatic plant; so if you love fistfuls of ripe, red berries come April, keep the water flowing to your strawberry plants.

Strawberries also like a nice mulch. Pine straw is free for the raking around our neighborhood, so we’ve opted for this free mulch and it has worked very well. We tried wood shavings one year, and they functioned alright as mulch. But the wind blew the fine wood shavings up over the crowns of the plants and smothered many of them, so that was a flop. I would imagine oat or wheat straw would work as well as pine straw if you don’t have pine straw to rake anywhere.

Another idea we tried several years ago that worked well has been planting crimson clover between the rows of strawberries or any of the winter crops. This holds the soil in the winter rains, fixes nitrogen from the air into the soil, and keeps the mud off our boots come springtime for berry picking! This year, the clover germinated quickly and grew so fast it needed trimming. So, shooting for two birds with one stone, we’re cutting the clover by hand and using it around the strawberry plants as mulch. So far so good; we’ll see how well this experiment works come April.

These are the strawberry plants just a week ago; this is before we’ve cut the clover and used it as mulch.

DSC02987

And here’s two shots of us cutting the clover and laying it down as mulch.

Do you have any strawberry plants in the ground? Nothing beats frozen strawberry smoothies in the summer heat or a cold bowl of strawberries, cream, and honey…

Posted in Gardening | Tagged , | Leave a comment

Food Security in Pictures: Gallery #2

Have you planted a tree yet; preferably a fruit or nut tree? Some people say it takes too long to wait for the fruit, but you know, the time is going to pass anyway! Some people say ‘I’m going to be moving soon’; but that new property owner might by very grateful someone took the time to do something they knew they would never benefit from. I’m glad my Daddy bought five pecan trees and planted them, because now they’re nearing the end of three years in the ground! It may take 7-8 years before you get pecans, but instead of procrastinating we’re now halfway to our own pecans.

DSC02310

Maybe you don’t have room for a great big pecan tree; what about a raised bed right around you house? We’ve planted everything from strawberries to onions, kale to garlic in these beds around our farmhouse. Lettuce is the latest in this bed; food security at it’s best: 10′ out the back door just growing away!

DSC02433

Here’s a unique way of growing your own food, and gourmet food at that! Shittake mushrooms are very good for you. They’re delicious and with a shady spot in your yard, anyone can grow them! All you need is a few logs 4″-6″ inches in diameter about 42″ long. The best wood is oak, but sweet gum works well too – this is what we used. Field and Forest is a nice place to order and they’re very knowledgable too. You can order spawn and the tools necessary online and with a little effort in six months or so your logs should start fruiting just like this:

DSC02638

There’s an obvious principle from the Scripture that all three of these pictures share: put in the hard work first, then the rewards come later! Our world is screaming the opposite: instant gratification now, and just pay later. Take some time to do the opposite and enjoy looking forward to the harvest.

Posted in Food Security | Tagged , , , | 2 Comments

Robbin’ Honey!

   Once the fourth of July has past, it’s time to rob honey! It’s taken me some time to finally put this post together, but we finally extracted the honey from our hard working bees back in August.

   We moved our bees to a new location on our property several years ago. They now reside on the east side of our chicken/rabbit house. This has proved ideal. They catch the earliest sun in the mornings so the bees can get to work early, but the building puts the bee hives in the shade shortly after noon. It’s hot enough outside in the Georgia summertime, but stuffed in a wooden box it really does get hot in full sun! The bees seem to like their new location.

DSC01730

   The smoker is a handy tool with the bees. A little puff of smoke in the entrance of their hive and bit under the lid quiets the bees and sends them to eating a bite of honey; a nice distraction while I take the hive apart. I take the supers for honey that are above a wire grate in the hives known as the queen excluder. This grate keeps the queen in the bottom two supers, known as the brood chamber, where she can lay eggs for new bees. The excluder also keeps the larger queen bee out of the supers the workers bees fill with excess honey, keeping her from laying eggs in those frames of honey. We scored five supers this year which is a rather modest number. I didn’t tend the bees much this spring, however, so I’m thankful for what we could harvest.

   I use the electric blower to physically ‘encourage’ the bees to leave the supers I’m harvesting rather than the commercial chemicals that are now standard fare.

   It’s fairly hard work harvesting the supers. I like to use ‘Medium’ sized supers for honey and they can weigh nearly 60 pounds when full! This year went well even working alone. Despite the clouds of bees during the process I never encountered a mad bee. When bees get truly upset they change their tone; it heightens to a higher pitched whine and they get aggressive trying to sting anything in sight. In proper clothing you are pretty well protected, but the goal is to move slowly and deliberately, gently handling the bees and the supers. Good handling with a little smoke can let you enter into several hives like I did with no mad bees in sight.

   Here’s the end of the hard work getting the supers and the honey away from the bees:

DSC01732

   That isn’t much of a picture, but it’s the reward of the bee’s hard work and mine, now ready for extraction. I loaded the supers directly from the hives onto a small trailer, towed them to our barn, and put these supers in an enclosed room. Bees can find their missing honey very quickly and easily, so it doesn’t work just to take the supers to the other side of your property in an open setting – you need a bee proof room to extract the honey!

   I use a hot knife, controlled with a built-in thermostat, to ‘cut’ the capping off the honey comb:

   After the cappings are cut off, they drain into a pail and we place the frames of honey into the extractor. Our extractor holds 6 frames of honey and you turn a handle to spin the frames at a nice steady pace. The centrifugal force slings the honey out of the honey comb onto the walls of the extractor and then drains to the bottom where we can then drain it into a filter over a bucket.

DSC01798

Willie loves helping out and he really liked giving the extractor a whirl!

DSC01782

   Honey is like everything else on a farm: if you raise or grow it and then eat it fresh, you’ll never go back to store bought tomatoes, eggs, or whatever. And home-grown honey is no exception!

DSC01815

   Tina and I put together a video of the whole process too; from taking apart the hives themselves to cutting the cappings off the comb to spinning the extractor. Enjoy!

Posted in Farm Animals, Working on the Farm | Tagged , , , | 3 Comments

Getting Ready for Fall Gardening

Fall gardening has been a new frontier for us. In the past, by the time summer gardens were playing out, we never had the energy to figure out how to raise our own cabbage, collards, broccoli and the like. But we’ve found that gardening in the fall is easier than the summer! One of the reasons is the low weed and bug pressure. A little cultivation for the couple of weeks after you plant is all that’s needed; once frost hits the weeds are basically not an issue. We started trying fall crops in the raised beds around our house. This was a confined, simple way to get used to putting seeds and plants in the dirt that would get hammered with frost and even possibly covered in snow, and many of them do just fine through such treatment!

You may have seen our post about sweet corn. Here’s how we get rid of the leftover corn stalks and weeds that have snuck in while we were busy “laying the corn by”:

If you don’t have a herd of Jerseys handy, you can handle a small patch by pulling the stalks and composting them or a bush-hog will deal with a larger patch. Here’s the garden after a couple of days under the duress of 11 milk cows munching away happily!

DSC01470

After the cows, we took down the fencing and fired up the tractors to till and move compost. Here’s Grandaddy driving ‘Ole Orange’ (Willie’s name for our Kubota tractor) tilling down the crop residue and making way for the compost. In the picture I had just started putting a few scoops top left (the black stuff!).

DSC01668

We keep our barn like a big horse stall in the winter when there’s no grass for the cows. The cows stay up out of the cold and rain and eat hay and we use lots of fresh wood shavings for bedding. Add lots of work with a pitchfork and a wheelbarrow and we build up piles of goodness that turns into black gold in short order:

By now, we’ve actually planted our fall crops and they’re just coming up where we can get some pictures. Have you ever tried gardening in the fall?

Posted in Gardening | Tagged , , | 3 Comments

My Farm Visit

Guest post by Benjamin Horevay.  Benjamin, who was a Polyface Farms intern, recently helped us on the farm for two weeks.

Having never been to the south, my first exposure has been splendid.  I arrived on a beautiful summery day and was greeted at the bus stop by Daniel and David.  After navigating through the city traffic, we arrived at the farm.  There are animals, of course, and animals mean chores – I was straightway initiated: helping David move and feed broilers, getting fresh hay for the cows, and cleaning the barn after milking was completed.

DSC02287

DSC02285   DSC02286

In the days following, we butchered rabbits and broilers, sharpened knives, went to the fair, cleaned the parlor area, visited Cabela’s, prepped and overseeded the pasture with annual rye grass, planted the fall garden with strawberries, collards, broccoli, cauliflower, Brussels sprouts, cabbage, arugula, radishes, kale and spinach, which then needed weeding – no insignificant task, mind you; and re-seeded (as some of our original seeds proved stubborn, for which their just rewards are a place in the soil forever in a decomposed form!).

DSC02055

DSC02061  DSC02235

DSC02307

The pasture after overseeding.

After several days helping David with the “outside” chores, Daniel gave me a crash course on milking.  From securing the proper cow, to recording milk weight individually, or hand starting – there are many little details to manage and Daniel does so quickly and easily.  I have found it quite enjoyable.  You get to know the cows on a more personal level, which is right up my alley!

First, fetch the correct cow, after which she must be thoroughly washed.  As the first few squirts of milk have a higher bacterial count, we hand start them, squeezing the milk into a bowl.  This milk does not go to waste; the calves will take care of that!

Then, place the claw on the teats and let the milk flow!  Meanwhile, get the next cow and begin again.  Be sure not to let the machine run too long; once the milk stops flowing the claw needs to be removed.

DSC02252  

  DSC02247

DSC02248  DSC02258

DSC02271

The Hammond families have been gracious hosts; I have been more than well fed.  Anna does a fantastic job in the kitchen, and after much pleading and begging, I finally agreed to help taste test some new-recipe cashew date bars.  As I write, I can hear the ice cream machine running… which is, in fact, truly making ice cream, as the recipe is 3 parts cream to 1 part milk.  I think I’ll go enjoy some…

Posted in Working on the Farm | Tagged , , | 4 Comments

Future Jersey Milker

Just the other day, we had another future Jersey milker born…and a very cute one at that!

DSC02042

Most Jersey cows do not have many, if any, white markings, but this little critter certainly has a lot of them…

DSC02037

Our current protocol is to give the heifer calves born on our farm at least three months of raw cow’s milk (sometimes longer if we have extra milk).  Did you know if you feed your calves milk replacer they won’t be as healthy and if you feed them pasteurized milk more than half of them will get sick and die?!? Raw cow’s milk gives these little ones a great start in life!

DSC02036

Another important factor for a cow to have a long, healthy life is when to start breeding them. After they’ve gotten a good start of raw cow’s milk supplemented with grass and hay, we wait until they are at least 1 1/2 years old and often they are 2 years old when we breed them.  This allows them to mature and grow in size which is important since it takes 3 to 4 years for a cow to reach it’s full size.

DSC02034

Commercially, dairy cows are bred much younger and that combined with a diet of corn, soy, out-of-date chocolate, bubble gum in the wrapper, and who knows what else that the industry hasn’t told us about yet, they only live a few, short years often having only 2 calves.  On the other hand, a well taken care of cow that has been given colostrum and then raw milk as a calf, given time to mature before breeding, fed only grass and hay as God originally designed, and is having a few months rest from milking before each calving can live up to 20 years and could easily have a dozen calves or more!

DSC02031

Check out this short video below of our new, spunky little calf we’ve named Audrey and her mother Angel!

Posted in Baby Animals, Farm Animals | Tagged , | 2 Comments

Post Drill Restoration and Modification: A sustainable shop tool!

My wife and I have been researching human powered machines. There’s a dizzying array of gadgets that people have created from the crazy to the downright practical. Check out this device. And this one from Rock the Bike has to be my favorite (minus the price!). Old-timey, hand-cranked, pedal-powered, treadle-driven machines are quite fascinating.

I bought a post drill off of eBay this past winter and all I had managed to do since then was take it apart into a bunch of dirty pieces, but I’ve finally taken a little time on this project in the past couple of weeks. These are the pictures from the eBay ad, so this is the “before.”

The drill was in good shape, just dirty, missing a handle and still had the original chuck.

A post drill was a blacksmith’s tool or a general farm tool from the 1900’s era. This guy has more info about post drills than you would probably care to read about. Essentially a post drill is a hand-cranked drill press (mounted on a post…), but it’s geared pretty slow and was primarily used for drilling metal rather than wood. The mechanism to turn a crank, which turns a bevel gear, which turns another gear, which turns the drill shaft and a flywheel is pretty simple and straightforward. But if you’re using one hand to crank the drill and the other hand to hold the workpiece, how do you advance the drill bit through the metal (or wood)? This is the fascinating part. They used a boss set at a cam on the main gear that the crank handle turns and this cam pushes a lever up and down and this moves an arm gently back and forth on another gear, advancing the drill bit downwards.

Well, that’s probably clear as mud, so there’s a video at the end of this post of the drill in operation!

But there’s one problem with these old post drills. Well, that is if you can find one with all the correct parts and with nothing broken. Once you’ve got a functioning post drill, the chuck that holds the drill bits is a problem. It’s an old fashioned blacksmith chuck that holds bits that are obsolete.

Enter Mr. Ken Hood. This is his shop on Powder Springs Road.

DSC01597

I know how to join two pieces of wood together in a variety of ways, but my metal working skills are limited to blowing something into rough pieces with a oxygen/acetylene torch, drilling and bolting together, or some crude buzz box welding. That doesn’t help much when you need something accurate done!

DSC01594

So I took a 3-jaw, modern Jacob’s chuck off an old electric drill press and took the shaft and chuck out of the post drill and took the two pieces to Mr. Hood. Mr. Hood is quite the machinist and does everything from crankshaft grinding to rebuilding transmissions to making parts for old cars to, well, when I called him to ask him if he could fix my problem with the post drill he interrupted me and just said: “Anything is possible.” That’s the kind of guy I like!

Here’s the new chuck mounted on the old shaft:

DSC02005

Fortunately for me, my part in this restoration was pretty simple. The drill was pretty dirty so I gave it a scrubbing with a wire wheel and wiped everything down with WD-40. A little oil on the gears and spinning shaft helped make turning the crank a lot easier. The handle on the top gear was missing so I made a new one. Then I mounted the drill to a backer board and mounted that to an old fence post. Now that Mr. Hood has finished his part, I’ve got a working post drill; check it out!

Sustainability’s greatest detractor is this argument: “Well, if I can’t live completely sustainable right now, for cheap and with minimal effort, then just forget the whole idea!” Rome wasn’t built in a day and re-skilling our lives so we can live a little lighter on the land and learn to be in control of our own lives without worry of some outside disaster taking away our food supply isn’t going to happen overnight.

Does your shop have a human-powered, hand-cranked drill press?! Does your city have country roads?

Thanks for reading everybody!

Posted in Human-powered Machines, Woodworking | Tagged , | 11 Comments

Chore-time with Mama

One early morning, when I didn’t want to sleep very long and wanted to rather pester Mama instead of letting her get a little work done before the day really got started, she just set me in the little stroller and out to do chores I went.  What fun!  Now, I know what I’ll do every morning…hehehe (but don’t tell Mama).

The sunrise was beautiful…

DSC01953

The chickens were hungry for their breakfast…

DSC01937          DSC01940

This chicken’s beak felt hard…maybe something good to chew on next time I’m teething…

DSC01950

The rabbits were curious and so was I…

DSC01946

In the afternoon, Mama put me in the stroller again and gave me the egg basket…

DSC01929

…and back to the chicken house we went…

DSC01925                    DSC01933

Mama even let me hold an egg and I didn’t drop or break it!

DSC01951                    DSC01952

Just in case y’all haven’t already noticed, I am thoroughly enjoying being a little farmer, especially all the animals it includes!

DSC01934

Posted in Farm Animals, Kids on the Farm | Tagged , , , | 2 Comments